Understanding LED Membrane Switches A Beginner’s Guide
Understanding LED Membrane Switches A Beginner’s Guide
Have you ever thought about why modern devices are easy to use? A big reason is the LED membrane switch. This is a type of control made of thin, bendable layers with tiny LED lights. These switches not only look cool but also make devices easier to use.
LED membrane switches work great for custom designs. They help create controls that are useful and nice to look at. From medical tools to smart gadgets, these switches make using devices simple and smooth.
Key Takeaways
- LED membrane switches have lights, helping you see buttons in the dark.
- These switches respond quickly when pressed, so you know they work.
- LED membrane switches are strong and affordable, lasting millions of presses.
- They are used in many fields like electronics, healthcare, and cars.
- You can customize them to fit needs, making them useful and nice-looking.
What Is an LED Membrane Switch?

Definition and key components
An LED membrane switch is a flat control panel. It has thin layers and tiny LED lights inside. These switches make devices easier and more fun to use. They are made of several layers, including a strong but bendable base. This base is often made from polyester or polyimide. It is tough and works well for many uses.
Inside the switch, special layers and traces work together. When you press a button, it completes a circuit. This tells the device what you want it to do. The LEDs have two jobs. They light up the buttons so you can see them better. They also show if your action worked or if there’s a problem. These features make LED membrane switches useful and nice to look at.
Differences from traditional membrane switches
You might wonder how these switches are different from older ones. The big difference is the LED lights. Older switches only use printed designs or outside lights to guide users. LED membrane switches have lights built in. These lights make the buttons glow, which helps in dark places.
Another difference is how they interact with users. The LEDs let you see changes right away, like a button lighting up when pressed. This makes the device easier to use and understand. Older switches don’t give this kind of feedback or look as modern.
Role of LED backlighting in the interface
LED backlighting is very important for these switches. Think about using a device in a dark room. Without lights, finding the right button is hard. LED backlighting fixes this by lighting up the buttons. This makes them easy to see and use.
Backlighting isn’t just helpful; it also looks cool. It gives devices a modern and stylish design. The lights can match the device’s colors or theme. For example, a blue light on a medical tool or red lights on a gaming console. LED backlighting adds both style and function to devices.
How LED Membrane Switches Work
Layered structure and functionality
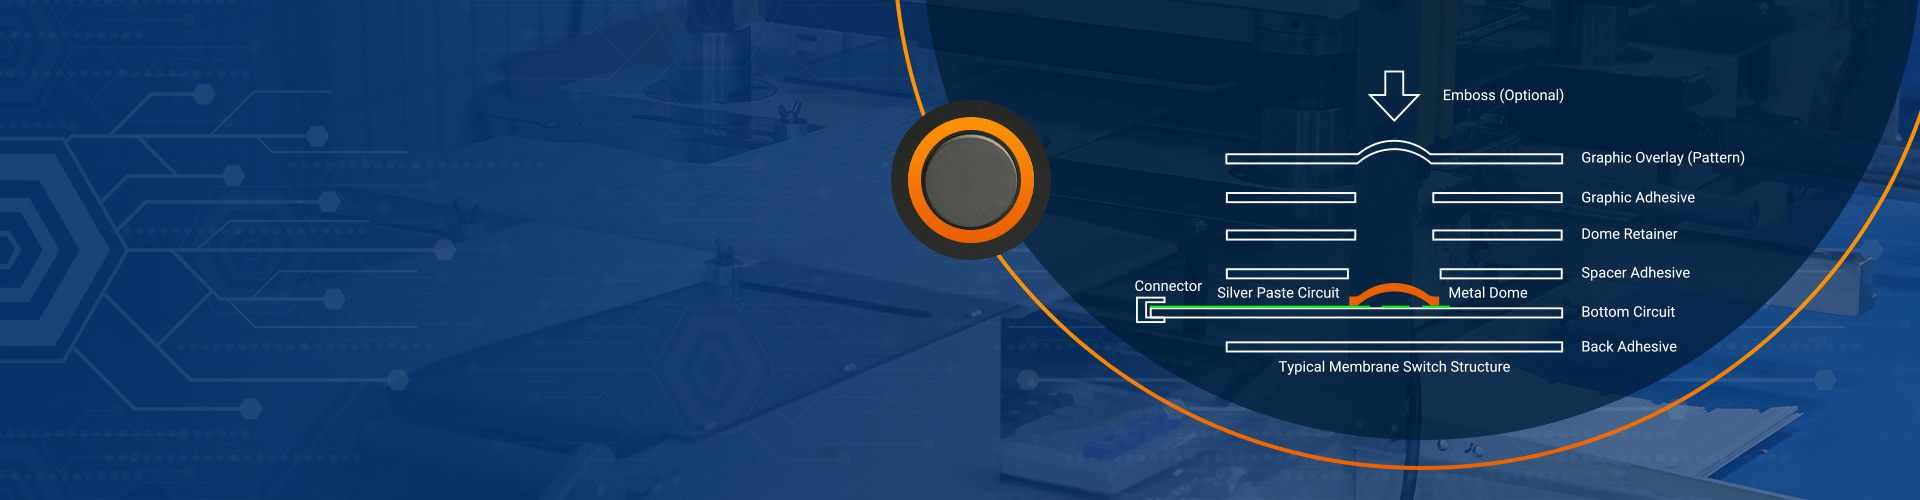
An LED membrane switch has thin layers stacked together. Each layer does a specific job to make it work. The top layer shows the buttons and symbols you touch. It helps you understand the controls easily. Below it, a spacer layer keeps the circuit open until pressed. Pressing a button closes the circuit and sends a signal.
The base layer is where signals are carried. It has special paths for electricity to flow smoothly. These paths connect the keypad to the device. All the layers work together to make the switch strong and easy to use.
LED illumination and feedback mechanisms
The LED lights aren’t just for looks—they have a purpose. When you press a button, the light turns on to show your action worked. This is helpful in dark places or when quick feedback is needed.
LEDs also make the switch look better. They can match the device’s style or purpose. For example, green lights can mean “safe,” and red lights can mean “error.” This mix of design and function makes these switches useful and unique.
Electrical and mechanical integration
For the switch to work well, its parts must fit perfectly. The pressure needed to press a button should feel right for the device. This is important for tools like medical devices or factory controls.
The switch must also last a long time. Many use metal domes that can handle millions of presses. Good switches have low resistance, making them reliable. These features help the switch work well, even in tough conditions.
Benefits of LED Membrane Switches
Better visibility and easier use
Have you ever had trouble finding buttons in the dark? LED membrane switches fix this by lighting up the buttons. The built-in lights make them easy to see in dim spaces. This feature helps you use devices more easily and comfortably. Whether it’s a medical tool or a smart gadget, the glowing buttons make sure you press the right one.
These switches also give quick feedback. When you press a button, the light shows your action worked. This instant response makes you feel sure the device understood you. It’s a small feature that makes using devices much better.
Stylish design and helpful feedback
LED membrane switches don’t just work well—they look cool too. The glowing lights give devices a modern and sleek design. You can pick colors to match the device or brand style. Imagine red lights on a gaming console or soft blue lights on a kitchen gadget. These switches make devices look more attractive.
The lights aren’t just for looks—they’re useful too. For example, green lights can mean success, while red lights show an error. This mix of style and function makes these switches special for many uses.
Long-lasting and money-saving
These switches are made to last a long time. They can handle millions of presses without breaking. Strong materials like polyester keep them working in tough conditions. This makes them great for outdoor or factory use.
They also save money. Since they combine lighting and feedback in one design, you don’t need extra parts. Their long life means fewer replacements, cutting costs over time. They’re a smart choice for saving money and getting good performance.
Applications of LED Membrane Switches

LED membrane switches are used in many industries. Their flexible and easy-to-use design makes them popular. Let’s look at where they are commonly found.
Consumer electronics and smart devices
You’ve likely used LED membrane switches in gadgets. They are in remotes, gaming consoles, and smart home devices. These switches make gadgets easier and more fun to use. For example, glowing buttons on a TV remote help you see in the dark.
Smart devices also use these switches. Think of a smart thermostat with glowing buttons. The lights make it look cool and easy to use. These switches mix style and function, perfect for modern devices.
Medical equipment and healthcare interfaces
In healthcare, accuracy is very important. LED membrane switches are in medical tools like monitors and pumps. Their glowing buttons help doctors and nurses work in dim light.
These switches also give feedback to reduce mistakes. For example, a nurse presses a button, and the light shows it worked. This quick response helps keep patients safe. Plus, they are strong and can handle cleaning and sterilizing.
Industrial and manufacturing systems
Factories need tough and reliable tools. LED membrane switches are great for this. They are used in machines, control panels, and rugged tablets. These switches work well in heat, dust, and sand.
For example, the military needed a switch for a rugged tablet. It had to work in hot and sandy places. The solution included glowing buttons and feedback. Another example is a custom keypad with tricolor lights for a touchscreen. These switches are perfect for tough jobs in factories and the military.
Automotive and transportation designs
Think about cars and other vehicles. You’ll notice glowing buttons and easy-to-use controls. LED membrane switches help make these features work well. They are found in many places, like car steering wheels and bus control panels.
Why are LED membrane switches great for vehicles?
- Easy to see anytime: Driving at night or in a dark garage? LED lights make buttons clear to see. This helps you avoid mistakes and stay focused.
- Strong and space-saving: Vehicles have limited space, and buttons get used a lot. These switches are thin, tough, and last a long time. They fit well in small areas and handle heavy use.
- Stylish designs: Car makers like how these switches match vehicle styles. Fancy cars may use soft blue lights, while trucks might have bright red buttons. The designs can fit any look.
Tip: Look at your car’s buttons next time. If they light up when pressed, it’s likely an LED membrane switch!
Real-world uses in transportation
These switches aren’t just for cars. They’re also in planes, trains, and boats. For example:
- Airplane cockpits: Pilots use glowing buttons to find controls quickly.
- Train panels: Operators rely on lit switches to control speed and safety.
- Boat systems: Waterproof LED buttons help sailors steer safely in bad weather.
These switches make vehicles safer, easier to use, and more stylish. Whether on the road, in the air, or at sea, LED membrane switches improve every trip.
Design Considerations for Integration
Layout and LED positioning
When creating an LED membrane switch, think about user comfort. Buttons and LEDs should be easy to reach and use. Picture using a remote control. If buttons are too close or oddly placed, it’s annoying, right? That’s why spacing and alignment are so important.
LED placement matters too. Lights should make buttons clear but not too bright. For example, in medical tools, LEDs can guide a nurse to the right button fast. Using different colors can also make controls easier to understand. A smart layout makes the switch both helpful and simple to use.
Environmental factors and durability
LED membrane switches often face tough environments. They might deal with heat, cold, or moisture. Think about where the device will be used. Is it for outdoor gear in the rain? Or maybe for a factory with dust and shaking? Picking strong materials is key for long-lasting switches.
Polyester is a common choice because it’s tough and durable. Adding a protective layer can guard against chemicals or sunlight. By planning for these challenges, you can make a switch that works well anywhere.
Power and energy efficiency
LEDs save energy, but power use still needs care. If the device uses batteries, you don’t want LEDs to drain them fast. Low-power LEDs can help. Features like dimming or auto-off save even more energy.
Grouping LEDs to share circuits also lowers power use. This makes the design simpler and more efficient. By focusing on saving energy, you make the device last longer and better for the planet.
Material and adhesive selection
Picking the right materials and adhesives is very important. These choices decide how strong and long-lasting the switch will be. They also affect how the switch feels when pressed.
First, think about where the switch will be used. Will it face heat, water, or chemicals? For outdoor devices, use tough materials like polyester or polycarbonate. These can handle rough weather and tough conditions. For indoor devices, lighter but strong materials work well.
Adhesives are just as important as materials. They hold the switch layers together and attach it to the device. A good adhesive keeps the switch in place, even with heavy use. For medical devices, the adhesive must resist cleaning chemicals. In factories, it should handle shaking and extreme heat or cold.
The surface of the device also matters. Smooth surfaces need different adhesives than rough ones. Some adhesives are waterproof or can handle high heat, which is helpful.
Testing is very important before making a final choice. If the adhesive is weak, the switch might peel off or stop working. Nobody wants that to happen.
By choosing the right materials and adhesives, you can make a switch that works well and lasts a long time.
Steps for Custom Integration of LED Membrane Switches
Set clear goals and needs
Before starting, decide what you want the switch to do. Ask yourself, “What is the purpose of this switch?” Think about how it will improve the device. For example, does it need glowing buttons for a medical tool? Or should it look cool and respond fast for a gaming console?
Once you know the purpose, list what you need. Think about the size, number of buttons, and layout. Will it face heat or water? If yes, choose strong materials. Also, decide on LED colors and brightness. These details make the device easier to use.
Planning now saves time later. It’s like drawing a map before starting a trip.
Work with experts and manufacturers
You can’t make a custom switch alone. Work with experts who know how to build these switches. Share your ideas and needs with them. Be specific so they understand your vision.
Experts can help with materials, LED placement, and saving energy. They might suggest tools or adhesives for tough conditions. For example, they could recommend low-power LEDs or strong adhesives.
Working together helps avoid mistakes. Experts can spot problems early and save you money. Think of them as guides helping you create the perfect design.
Make, test, and improve the prototype
After planning, build a prototype. This is a sample of your switch. It shows how it will look and work. Prototyping is an important step to ensure the switch works well.
Test the prototype carefully. Do the buttons light up correctly? Are they easy to press? Are the LEDs bright but not too harsh? Testing finds problems and areas to fix.
Next, improve the design based on tests. Maybe the LED placement needs adjusting. Or the adhesive isn’t strong enough. Keep improving until the switch works perfectly. This step makes sure the final product is ready for real use.
Prototyping and testing take time but are worth it. They help you make a switch that’s easy to use and reliable. By following these steps, you’ll create a great custom LED membrane switch.
Finalize and implement the custom interface
Now that your prototype is ready, it’s time to complete your custom interface. This is where all your hard work comes together. Follow these steps to finish and use your design properly.
1. Put the membrane keypad layers together
Carefully stack the layers of your membrane keypad. Each layer has an important job in making it work. Make sure the adhesive sticks well and the layers line up perfectly. If the layers don’t match, buttons might not work or lights could look uneven. If you’re making a DIY membrane switch, take extra care to avoid mistakes.
2. Check the electrical connections
Before sealing the keypad, test the electrical parts. Use a multimeter to check if the circuits are complete and the LEDs light up correctly. Fix any problems now to make sure your design works perfectly later.
3. Attach the keypad to the device
After testing, stick the keypad onto your device. Pick an adhesive that fits the surface and the environment. For example, use waterproof glue for wet areas or heat-resistant glue for hot places. A good adhesive keeps the keypad secure during use.
4. Do a final test
Once installed, test the keypad again. Press every button to see if it works and lights up. Check if the lights are even and the buttons are easy to press. This last test makes sure your design is ready to use.
5. Teach users or give instructions
If others will use your keypad, make a simple guide. Explain how the buttons work, what the lights mean, and how to take care of it. Clear instructions help users understand and enjoy your design.
Pro Tip: Write down the materials and tools you used. This helps if you need to fix or improve your design later.
By following these steps, you’ll create a great DIY membrane switch. Your custom keypad will look good and work well in its environment. Whether it’s for medical tools, machines, or gadgets, your design will be reliable and stand out.
LED membrane switches offer many benefits. They make buttons easier to see, improve how devices work, and give gadgets a modern look. These switches are strong and save money, making them great for home or work use. Whether for medical tools, smart devices, or tough machines, they can make your project better.
Pro Tip: Plan carefully and get help from experts. A good switch not only looks cool but also works well.
Want to improve your designs? Try LED membrane switches and turn your ideas into amazing creations!
FAQ
Why are LED membrane switches better than older ones?
LED membrane switches have built-in lights that make them special. They help you see buttons in the dark and show quick feedback when pressed. Older switches don’t have these features, so LED ones are easier and more modern to use.
Can LED membrane switches survive tough conditions?
Yes, they can! These switches are made to last. They handle heat, water, and dust easily. Strong materials like polyester and protective layers keep them working in hard places like factories or outdoors.
Tip: Pick materials based on where the switch will be used.
Are LED membrane switches good for saving energy?
Yes, they are! LEDs use very little power compared to other lights. Features like dimming or turning off automatically save even more energy. This helps batteries last longer and lowers energy costs for bigger devices.
How do I pick the right LED colors for my design?
Choose colors that match what your device does. For example, green can mean “good,” and red can mean “problem.” You can also pick colors that match your brand or product style to make it look better.
Can I make custom LED membrane switches for my project?
Yes, you can! You can change the button layout, LED colors, and more. Work with experts to create a switch that fits your needs. Testing and improving the design will make sure it works perfectly.
Pro Tip: Clear planning and teamwork with experts lead to great results.
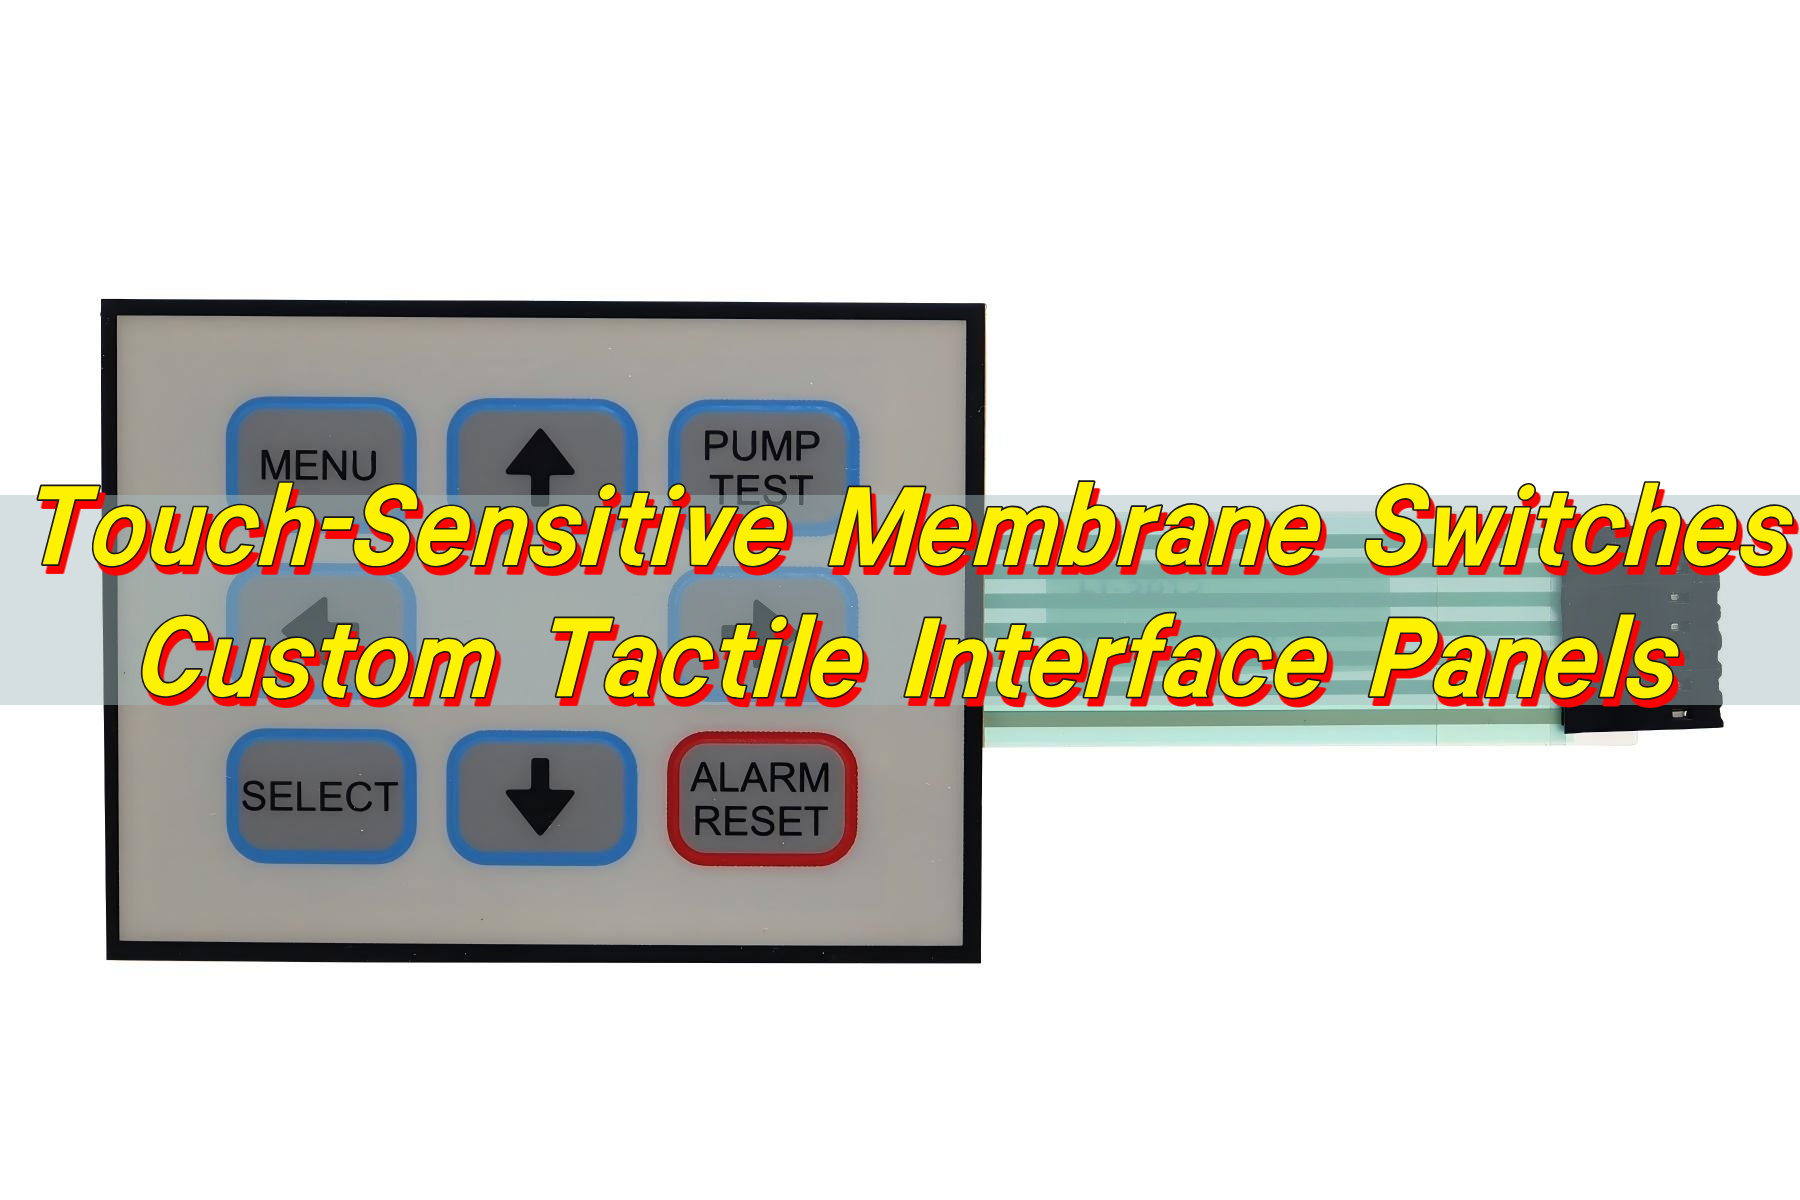
Touch-Sensitive Membrane Switches | Custom Tactile Interface Panels
What are touch-sensitive membrane switches? Touch-sensitive membrane switches are thin, flexible interface panels designed to detect a user’s touch and send an electrical signal to a connected circuit. These switches are commonly used in electronic control panels where a compact, reliable, and easy-to-clean interface is required. Instead of using traditional mechanical buttons, a touch-sensitive membrane ...
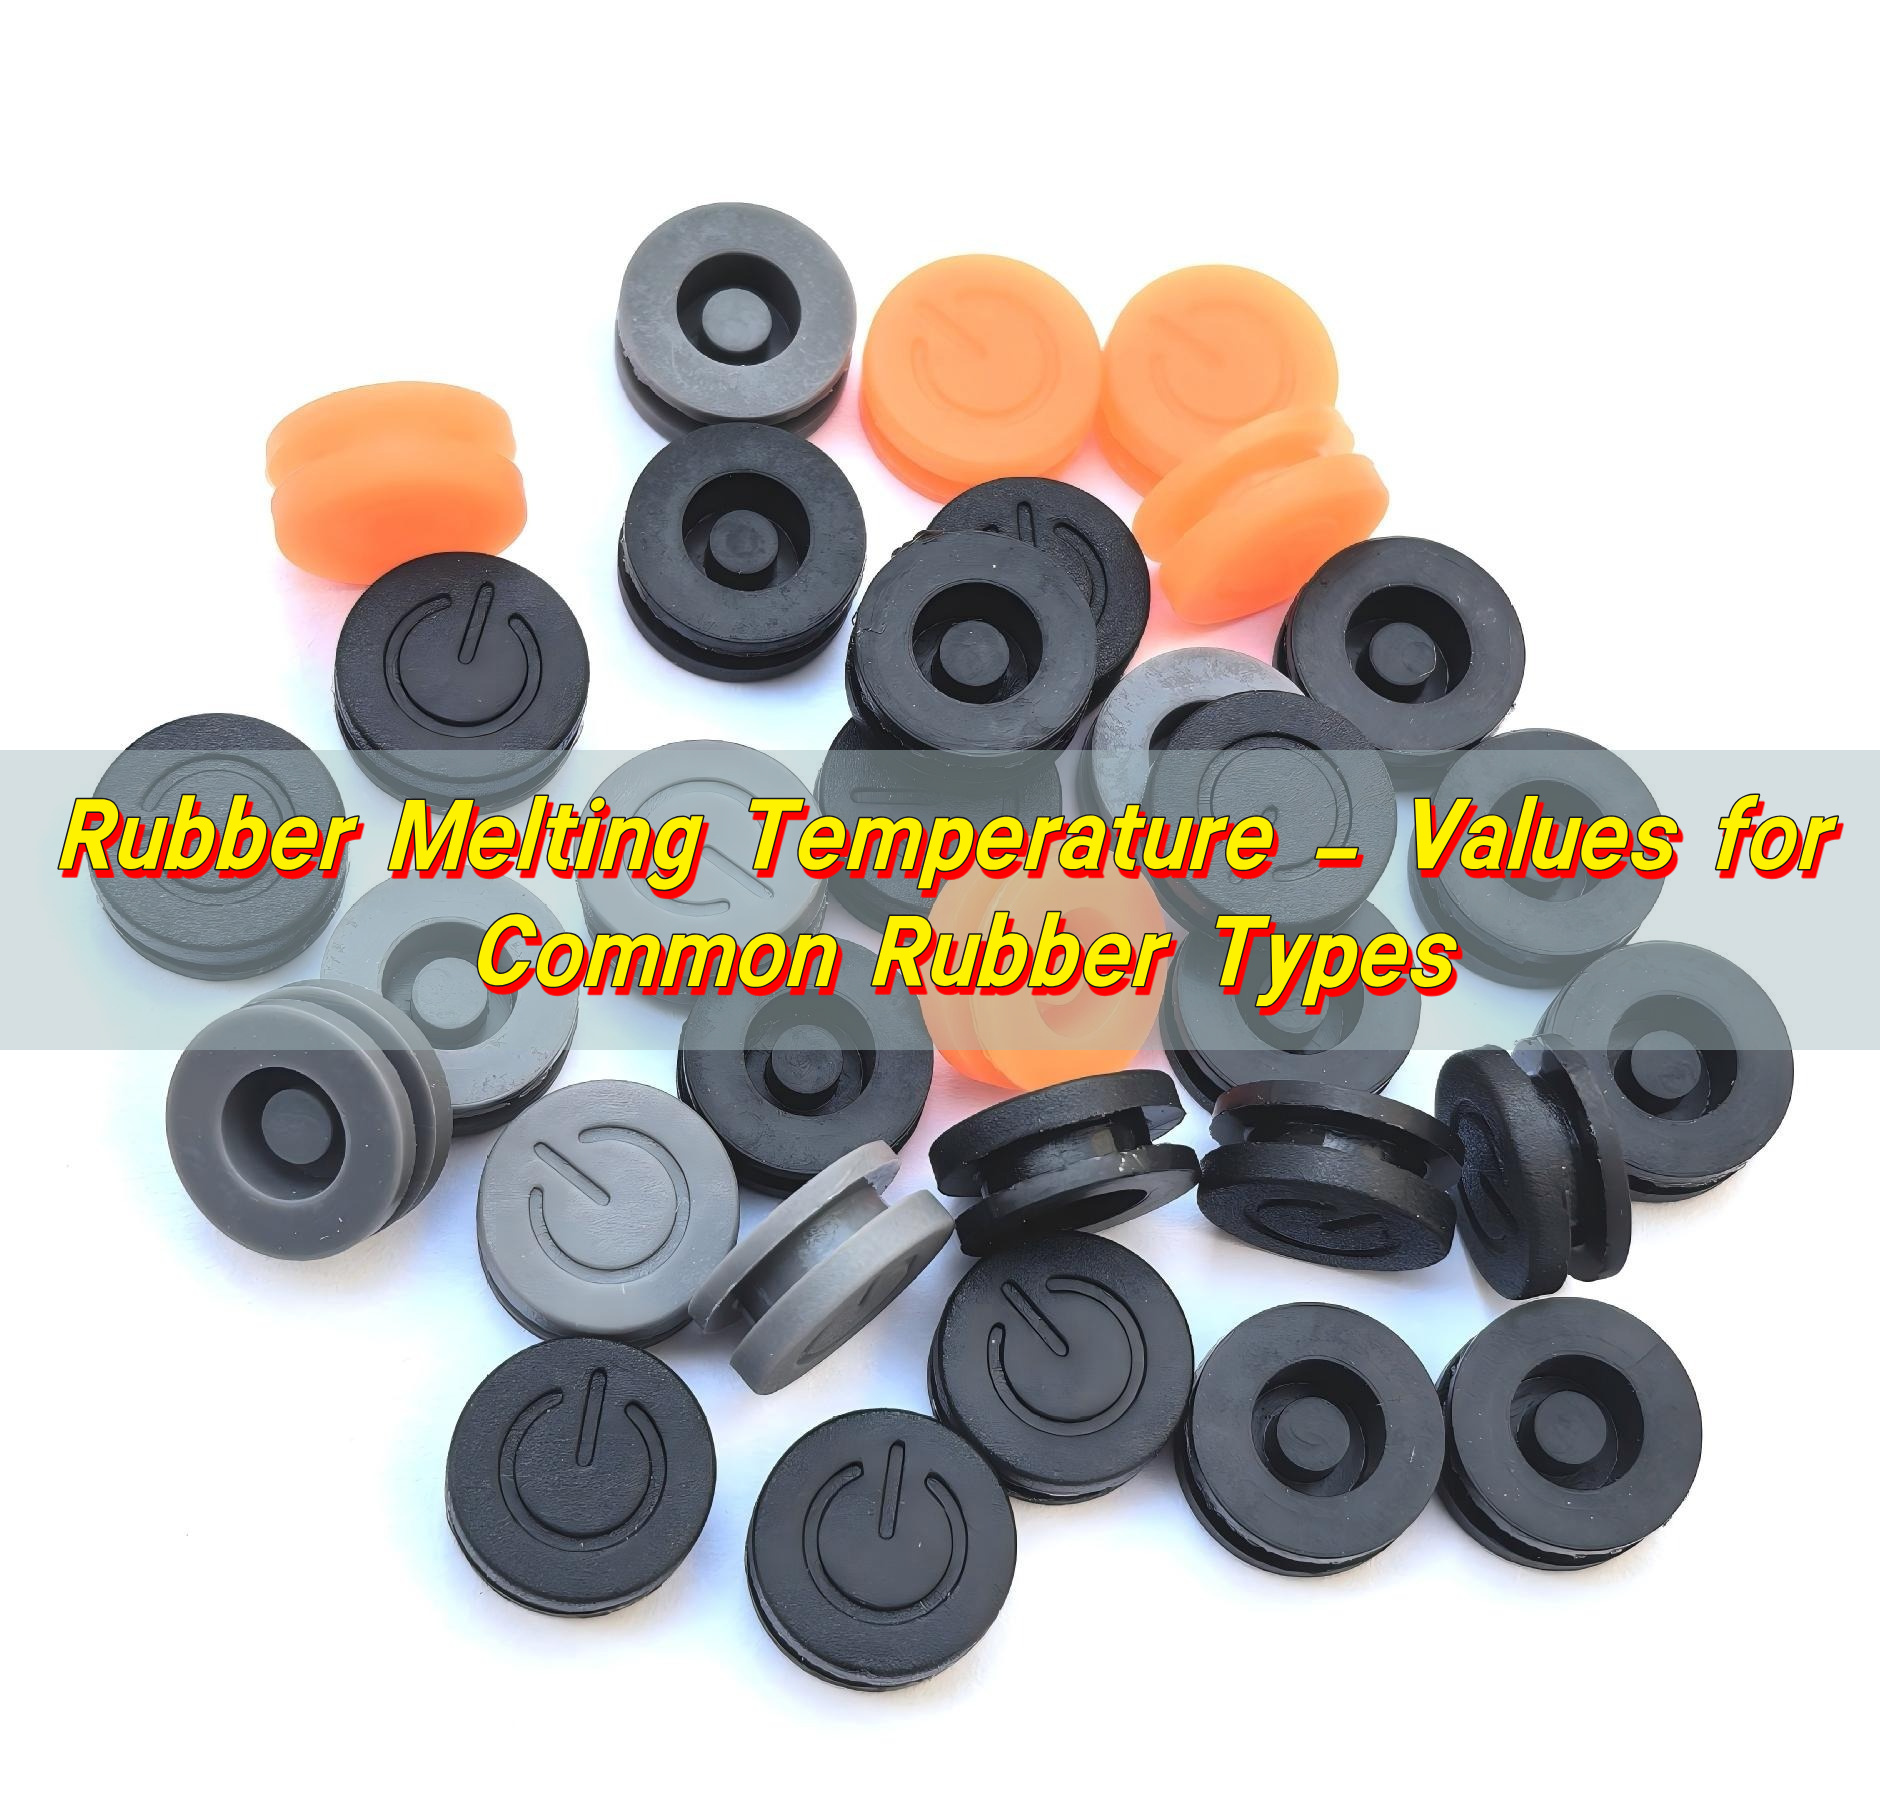
Rubber Melting Temperature – Values for Common Rubber Types
Rubber is widely used in modern manufacturing because it offers flexibility, durability, and reliable performance under different conditions. Engineers rely on rubber materials for seals, keypads, insulation parts, and vibration control components. However, temperature performance is one of the most important properties to consider when selecting a rubber material for any product design. Many people ...
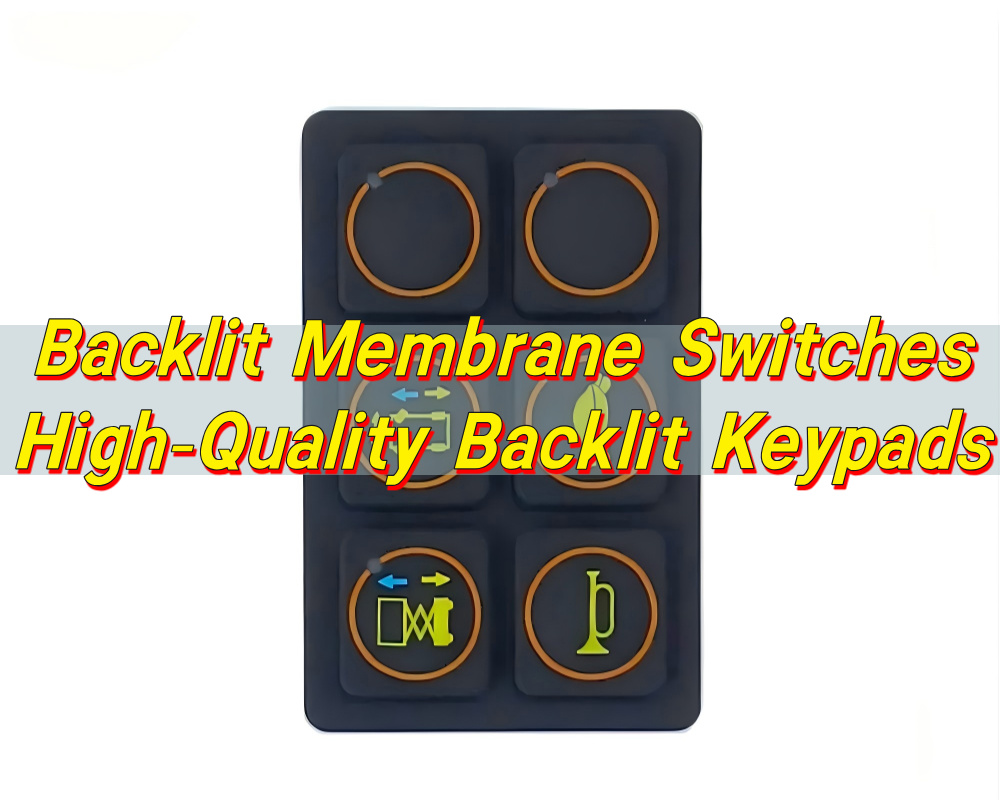
Backlit Membrane Switches – High-Quality Backlit Keypads
We provide reliable backlit membrane switches with long service life, stable backlight, and customizable design to fit your device control panel. What are backlit membrane switches? Backlit membrane switches are low-profile control interfaces that combine printed circuitry with integrated lighting. They allow users to see and operate equipment in low-light or dark environments. A backlit ...
Contact us online