Epoxy Membrane Switch Waterproofing Made Easy
Epoxy Membrane Switch Waterproofing Made Easy
Waterproofing an epoxy membrane switch is essential to maintaining its performance in challenging environments. Exposure to moisture can compromise its functionality or even cause permanent damage. You need to use high-quality materials and follow a precise application process to ensure the switch remains reliable over time. Proper waterproofing not only enhances durability but also protects the switch from costly repairs or replacements. By focusing on each step carefully, you can achieve a professional-grade result that withstands wear and tear.
Key Takeaways
- Use good-quality epoxy resin and hardener made for electronics.
- Clean and dry the switch well before adding epoxy.
- Follow the curing time instructions to avoid weak waterproofing.
- Check the switch often for damage and reapply epoxy if needed.
- Keep the waterproofed switch in a cool, dry spot to last longer.
Materials and Tools for Waterproofing

Essential materials for epoxy membrane switch waterproofing
To waterproof an epoxy membrane switch effectively, you need to gather the right materials. These materials ensure a durable and moisture-resistant seal that protects the switch from environmental damage. Here are the essentials:
- Epoxy Resin: Choose a high-quality, waterproof epoxy resin. Look for one specifically designed for electronic components to ensure compatibility and long-lasting results.
- Hardener: Use the correct hardener that pairs with your epoxy resin. The hardener activates the resin, creating a strong and durable bond.
- Protective Coating: A silicone or polyurethane coating adds an extra layer of protection. This coating shields the epoxy membrane switch from wear and tear.
- Cleaning Solution: Isopropyl alcohol or a similar cleaning agent is essential for preparing the surface. It removes dirt, grease, and other contaminants that could affect adhesion.
- Masking Tape: Use this to cover areas of the switch that should not come into contact with the epoxy. It ensures precision during the application process.
Each material plays a critical role in the waterproofing process. Skipping or substituting any of these could compromise the effectiveness of the seal.
Tools for application and curing
Having the right tools is just as important as using the correct materials. These tools help you apply the waterproofing solution accurately and ensure proper curing. Here’s what you’ll need:
- Mixing Containers: Use disposable containers to mix the epoxy resin and hardener. Ensure the container is clean and free of contaminants.
- Stirring Sticks: Wooden or plastic sticks work best for mixing. They allow you to blend the resin and hardener thoroughly without introducing air bubbles.
- Applicator Tools: Brushes, syringes, or spatulas are ideal for applying the epoxy. Choose a tool that offers precision and control, especially for small or intricate switches.
- Heat Gun or UV Lamp: Depending on the type of epoxy, you may need a heat gun or UV lamp to accelerate the curing process. Follow the manufacturer’s instructions for optimal results.
- Protective Gear: Safety goggles, gloves, and a mask protect you from fumes and skin contact. Always prioritize safety when working with chemicals.
- Testing Equipment: A multimeter or similar device helps you test the switch after waterproofing. This ensures the switch remains functional and properly sealed.
Using these tools simplifies the application and curing process. They help you achieve a professional finish while maintaining the integrity of the epoxy membrane switch.
Step-by-Step Waterproofing Process
Preparing the switch for waterproofing
Proper preparation ensures the epoxy membrane switch is ready for waterproofing. Start by cleaning the surface thoroughly. Use isopropyl alcohol to remove dirt, grease, or any contaminants that could interfere with adhesion. Avoid using water-based cleaners, as they may leave residue. Once cleaned, allow the switch to dry completely. Moisture can compromise the epoxy’s effectiveness.
Next, inspect the switch for any visible damage. Cracks or loose components should be repaired before proceeding. Use masking tape to cover areas that should remain untouched by the epoxy. This step prevents accidental application and ensures precision. Double-check your work to confirm the switch is fully prepared for the next stage.
Applying the waterproofing solution
Mix the epoxy resin and hardener according to the manufacturer’s instructions. Use a clean mixing container and stir the solution with a wooden or plastic stick. Ensure the mixture is uniform and free of air bubbles. Air pockets can weaken the seal and reduce waterproofing effectiveness.
Apply the epoxy carefully using a brush, syringe, or spatula. Focus on achieving an even layer across the surface of the switch. For intricate designs, use a fine applicator tool to reach tight spaces. Work methodically to avoid missing any areas. If your epoxy membrane switch requires additional protection, apply a silicone or polyurethane coating after the epoxy layer has set.
Curing and testing the waterproofed switch
Curing is a critical step in the waterproofing process. Follow the curing time specified by the epoxy manufacturer. Depending on the product, you may need to use a heat gun or UV lamp to accelerate the process. Avoid rushing this step, as incomplete curing can compromise the durability of the waterproofing layer.
Once cured, test the switch to ensure it remains functional. Use a multimeter to check for electrical continuity and verify that the waterproofing has not affected performance. Inspect the epoxy layer for any gaps or imperfections. If necessary, reapply the solution to address weak spots. A properly cured and tested epoxy membrane switch will provide reliable protection against moisture and environmental damage.
Avoiding Common Mistakes
Even with the right materials and tools, mistakes during the waterproofing process can compromise the durability and functionality of your epoxy membrane switch. By understanding and avoiding these common errors, you can achieve a professional and long-lasting result.
Choosing unsuitable materials or tools
Using the wrong materials or tools is one of the most frequent mistakes. Not all epoxy resins are created equal. Some may lack the waterproofing properties needed for electronic components. Always select a resin specifically designed for electronics. Similarly, using an incompatible hardener can weaken the bond, leaving your switch vulnerable to moisture.
Tip: Check the manufacturer’s specifications for both the resin and hardener to ensure compatibility. If in doubt, consult a professional or the product’s technical support team.
The tools you use also matter. For instance, a poorly cleaned mixing container or a low-quality applicator can introduce contaminants or air bubbles into the epoxy. These flaws can compromise the seal and reduce its effectiveness.
Neglecting preparation steps
Skipping or rushing the preparation phase often leads to poor results. A dirty or damp surface prevents the epoxy from adhering properly. You must clean the switch thoroughly with isopropyl alcohol and allow it to dry completely. Failing to inspect for damage, such as cracks or loose components, can also result in an ineffective waterproofing layer.
Note: Preparation is the foundation of a successful waterproofing process. Take your time to ensure the switch is clean, dry, and free of defects before applying the epoxy.
Rushing the curing process
Curing is a critical step that requires patience. Many people make the mistake of handling the switch before the epoxy has fully cured. This can lead to weak spots or incomplete sealing. Follow the curing time recommended by the manufacturer, even if it seems lengthy. Using a heat gun or UV lamp can help speed up the process without compromising quality.
Warning: Avoid exposing the switch to moisture or stress during curing. Premature handling can undo all your hard work.
By steering clear of these common mistakes, you can ensure your epoxy membrane switch remains waterproof and functional for years to come.
Maintenance for Long-Lasting Waterproofing
Inspecting for wear and tear
Regular inspections are essential to ensure your epoxy membrane switch remains waterproof and functional. Over time, environmental factors like temperature changes, humidity, and physical stress can weaken the protective layer. You should examine the switch periodically for signs of wear, such as cracks, peeling, or discoloration in the epoxy coating.
Tip: Use a magnifying glass or a bright light to spot small imperfections that may not be visible to the naked eye.
Pay close attention to edges and corners, as these areas are more prone to damage. If you notice any issues, address them immediately to prevent further deterioration. Early detection can save you from costly repairs or replacements.
Cleaning and reapplying waterproofing
Dirt and debris can accumulate on the surface of the switch, reducing its effectiveness. Cleaning the switch regularly helps maintain its protective properties. Use a soft cloth and isopropyl alcohol to remove contaminants. Avoid abrasive cleaners or tools that could scratch the epoxy layer.
If the waterproofing layer shows significant wear, reapply the epoxy solution. Start by cleaning the surface thoroughly and allowing it to dry. Then, follow the same application and curing process outlined earlier in this guide. Reapplying the protective layer ensures the switch remains sealed and functional.
Note: Always use the same type of epoxy resin and hardener for reapplication to maintain compatibility and durability.
Proper storage practices
Proper storage plays a crucial role in extending the lifespan of your waterproofed switch. Store the switch in a cool, dry place away from direct sunlight and extreme temperatures. Exposure to heat or moisture can degrade the epoxy layer over time.
Reminder: Use protective packaging, such as an anti-static bag, to shield the switch from dust and physical damage during storage.
By following these maintenance practices, you can ensure your epoxy membrane switch remains durable and reliable for years to come.
Proper waterproofing of an epoxy membrane switch ensures its durability and reliable performance in demanding environments. By following the outlined steps, you can create a robust protective layer that resists moisture and environmental damage. Avoiding common mistakes, such as rushing the curing process or neglecting preparation, further enhances the effectiveness of your efforts. Regular maintenance, including inspections and reapplications, keeps the switch functional for years. With these practices, you safeguard your investment and ensure long-lasting results.
FAQ
What type of epoxy resin works best for waterproofing membrane switches?
Choose an epoxy resin designed for electronics. Look for waterproof properties and compatibility with sensitive components. Avoid general-purpose resins, as they may lack the durability required for long-term protection.
Can I skip the silicone or polyurethane coating step?
Skipping this step reduces the switch’s resistance to wear and tear. While epoxy provides a strong seal, the additional coating enhances durability and shields against environmental stress.
How long does the curing process take?
Curing times vary by product. Most epoxy resins require 24 to 48 hours for complete curing. Accelerate the process using a heat gun or UV lamp, but follow the manufacturer’s instructions.
Is reapplication necessary after waterproofing?
Reapplication depends on wear and tear. Inspect the switch periodically for cracks or peeling. If the protective layer shows damage, clean the surface and reapply the epoxy to maintain waterproofing.
Can I use water-based cleaners during preparation?
Avoid water-based cleaners. They leave residue that interferes with epoxy adhesion. Use isopropyl alcohol for cleaning to ensure a clean, dry surface before applying the waterproofing solution.

How Long Does Keyboard Last? Average Lifespan Guide
Understanding how long does keyboard last is not just about numbers—it’s about how design, usage habits, and environmental conditions come together over time. Whether you’re working with a membrane keyboard, a mechanical unit, or a custom membrane keyboard built for industrial use, lifespan varies widely based on real-world factors. How long do keyboards last? Most ...
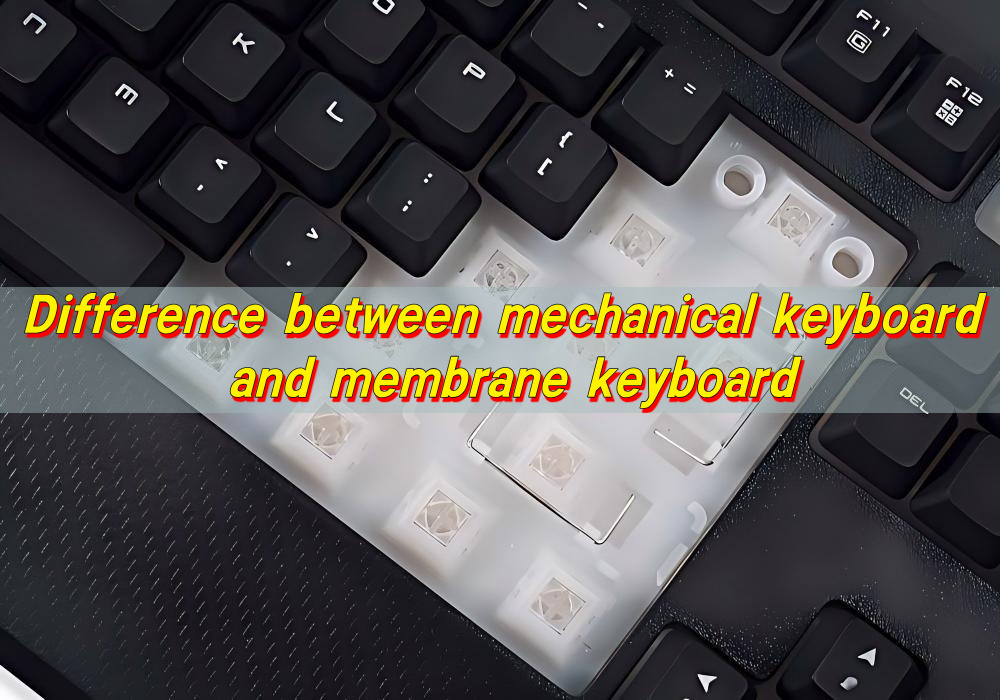
Difference between Mechanical Keyboard and Membrane Keyboard
Choosing between different keyboard technologies is no longer a simple matter of preference. As user expectations continue to evolve—especially in gaming, office productivity, and industrial control systems—the underlying structure of a keyboard plays a decisive role in performance, longevity, and overall user satisfaction. Understanding the difference between mechanical keyboard and membrane keyboard allows buyers and ...
Top Advantages of Using an LGF Membrane Switch in Modern Electronics
Electronics have advanced rapidly over the years. The buttons and controls people use every day have also quietly advanced. Today, thin panel-based controls are replacing old, bulky buttons in almost every industry, and for good reason. Even Lighting Across Every Key Older backlit panels always had that annoying problem of bright spots near the light ...
Contact us online