Membrane keypad with Arduino UNO which type works best
Membrane keypad with Arduino UNO which type works best

If you want the best results with a membrane keypad with Arduino UNO, you should choose a 4×4 flexible matrix keypad. This type delivers reliable compatibility, straightforward wiring, and strong durability. You get excellent tactile feedback and a low-cost input solution. Its compact design fits tight spaces and resists moisture and dust, making it suitable for demanding environments. Selecting the right keypad ensures your project works smoothly and remains easy to maintain.
Key Takeaways
- Choose a 4×4 flexible membrane keypad for the best compatibility and performance with Arduino UNO projects.
- Consider the wiring simplicity and tactile feedback when selecting a keypad; flexible keypads offer easy setup and a satisfying user experience.
- Evaluate your project needs carefully; for basic tasks, a 3×4 keypad suffices, while advanced projects may benefit from capacitive touch or waterproof keypads.
- Invest in quality keypads to enhance reliability and reduce maintenance issues, especially for frequent use in demanding environments.
- Always check compatibility with Arduino libraries to ensure smooth programming and integration of your chosen keypad.
Quick Comparison
Keypad Types Overview
When you select a keypad for your Arduino UNO project, you will find several popular options. The most common types include the 4×3 flexible membrane keypad, the 4×4 flexible membrane keypad, and the capacitive touch keypad, such as the TTP229. Each type offers unique features and fits different project needs.
- 4×3 Flexible Membrane Keypad: This keypad provides 12 keys arranged in a 3-column by 4-row matrix. You often use it for simple numeric input or basic menu navigation.
- 4×4 Flexible Membrane Keypad: This model gives you 16 keys in a 4×4 matrix. It supports more complex input, such as alphanumeric codes or extended control panels.
- Capacitive Touch Keypad (TTP229): This keypad uses touch-sensitive pads instead of physical buttons. You get a modern look and a smooth surface, which works well for sleek designs or waterproof applications.
Features and Compatibility
You need to compare key features before choosing the best membrane keypad with Arduino UNO. The table below summarizes the main differences:
| Feature | 4×3 Flexible Keypad | 4×4 Flexible Keypad | Capacitive Touch (TTP229) |
|---|---|---|---|
| Wiring | 7 pins, simple | 8 pins, simple | 2-8 pins (I2C/SPI/parallel) |
| Compatibility | Excellent | Excellent | Good (library required) |
| Tactile Feedback | Good | Good | None |
| Durability | High | High | Moderate |
| Price | Low | Low | Moderate-High |
Tip: If you want fast setup and reliable tactile feedback, choose a flexible membrane keypad. If you prefer a modern interface or need waterproofing, consider a capacitive touch keypad.
You should match the keypad type to your project’s requirements. For most users, the 4×4 flexible keypad offers the best balance of features, wiring simplicity, and cost. If you need fewer keys, the 4×3 model works well. For advanced or stylish projects, the capacitive touch keypad stands out.
Choosing a Membrane Keypad
Compatibility with Arduino UNO
When you select a membrane keypad with Arduino UNO, you must consider compatibility first. Most 3×4 and 4×4 keypads work seamlessly with Arduino UNO because they use a simple matrix structure. You can find strong library support for these models, which makes programming easier. Some advanced options, like the Adafruit TCA8418 Keypad Matrix and GPIO Expander Breakout, also work well with Arduino UNO, but you need to install specific libraries.
- 3×4 and 4×4 keypad kits: Plug-and-play with Arduino UNO.
- Adafruit TCA8418: Requires library installation and extra wiring.
Wiring and Setup
Wiring a membrane keypad with Arduino UNO is straightforward. Flexible keypads use a matrix of rows and columns, so you only need to connect a few pins. For example, a typical pinout looks like this:
| Pin Number | Key Connection |
|---|---|
| 1 | Key 2 |
| 2 | Key 1 |
| 3 | Key 4 |
| 4 | Key 3 |
| 5 | Common Pin |
You can connect these pins directly to Arduino digital inputs. Capacitive touch keypads, like the TTP229, may use I2C or SPI, which reduces the number of wires but requires more setup. Rigid keypads often have similar wiring but may need extra support for mounting.
Tip: Flexible keypads offer the easiest setup for most Arduino UNO projects.
Durability and Build
You want your membrane keypad with Arduino UNO to last. Flexible membrane keypads resist moisture and dust, making them reliable for outdoor or industrial projects. Rigid keypads provide extra strength but may not seal as well against the environment. Capacitive touch keypads have a smooth surface, but you should protect them from water to avoid false touches.
- Protect your keypad from moisture and dust for best results.
Tactile Feedback
Tactile feedback helps you know when you press a key. Flexible membrane keypads give a soft click, which improves user experience. Rigid keypads may offer firmer feedback. Capacitive touch keypads do not provide physical feedback, so you may need to add sound or light indicators.
Price and Availability
You can find many affordable options for a membrane keypad with Arduino UNO. Suppliers offer models with different features and price ranges:
| Keypad Model | Features | Price Range |
|---|---|---|
| Razer Ornata Chroma | Sensitive keys, USB powered | Affordable |
| Razer BlackWidow | Silent keys, multi-system compatibility | Affordable |
| Graphic Keypad | LED backlighting, multimedia keys | Good price |
| Mechanical-Membrane Hybrid | Fast response, lightweight | Good price |
| Innovative Solar-Powered Keypad | Solar powered, comfortable keys | Popular choice |
You should choose a keypad that fits your budget and project needs. Most flexible membrane keypads offer the best value for Arduino UNO users.
Keypad Types Review
3×4 Flexible Keypad
You can rely on the 3×4 flexible keypad for straightforward input tasks. This keypad features a 3-column by 4-row matrix, which makes wiring simple and setup quick. You will find it easy to integrate with Arduino UNO using standard libraries. The compact design fits well in small enclosures.
Pros:
- Simple wiring and easy installation
- Reliable tactile feedback
- Affordable price
Cons:
- Limited to 12 keys
- Not suitable for complex input
Best Use Cases:
- Password entry systems
- Simple calculators
- Timers and counters
- Menu navigation for small devices
Tip: Choose the 3×4 flexible keypad if you need a basic input solution for compact projects.
4×4 Flexible Keypad
The 4×4 flexible keypad offers enhanced functionality for advanced projects. You get 16 keys arranged in a 4×4 matrix, which supports alphanumeric input and extended control panels. The durable construction ensures long-lasting performance, even in demanding environments.
| Feature | Description |
|---|---|
| Durable Material Construction | Made from PC/PVC/PET composite material, ensuring long-lasting durability and resistance to wear. |
| Intuitive Color-Coded Design | Features a 4×4 matrix layout with color-coded buttons for easy function differentiation. |
| Microcontroller Compatibility | Integrates seamlessly with popular microcontrollers for reliable input recognition. |
| Versatile Scenario Adaptability | Suitable for both hobbyist and commercial applications, maintaining precision in various setups. |
| Eco-Friendly Certification | Complies with Germany’s EPR, ensuring sustainable production and disposal practices. |
Pros:
- Supports more complex input
- Strong durability and resistance to wear
- Easy to differentiate functions with color-coded buttons
Cons:
- Slightly more wiring than 3×4 models
- Larger footprint
Note: You should select the 4×4 flexible keypad for projects that require more keys and robust performance. This type works best for most membrane keypad with Arduino UNO applications.
Capacitive Touch Keypad
Capacitive touch keypads bring a modern look to your Arduino UNO projects. You interact with touch-sensitive pads instead of physical buttons. These keypads often use I2C or SPI communication, which reduces wiring complexity. You can achieve a sleek design and waterproofing for outdoor use.
Pros:
- Smooth, modern interface
- Reduced wiring with I2C/SPI
- Suitable for waterproof applications
Cons:
- No tactile feedback
- Requires additional libraries and setup
- Moderate to high price
Best Use Cases:
- Stylish control panels
- Projects needing waterproof or dustproof input
- Applications where physical buttons are not preferred
Tip: Add sound or light indicators to improve user experience when using capacitive touch keypads.
Rigid/PCB Keypad
Rigid or PCB keypads provide extra strength and durability. You benefit from high-quality materials like copper or silver for conductive traces, which resist corrosion. The circuit design remains simple, allowing easy integration with Arduino UNO.
| Aspect | Description |
|---|---|
| Durability | The keypad is made from high-quality materials like copper or silver for conductive traces, ensuring resistance to corrosion. |
| Wiring Complexity | The circuit design is simple, allowing for easy integration with microcontrollers like Arduino UNO. |
Pros:
- Excellent durability
- Stable performance in harsh environments
- Simple wiring
Cons:
- Less flexible for curved surfaces
- May require additional mounting support
Best Use Cases:
- Industrial control panels
- Projects exposed to vibration or mechanical stress
Note: Use rigid/PCB keypads when you need a robust solution for demanding environments.
Waterproof Keypad
Waterproof membrane keypads ensure reliable operation in outdoor and industrial settings. You benefit from advanced coatings that resist moisture and contaminants. These keypads maintain performance in harsh conditions, making them ideal for Colombian climates and industrial needs.
- Waterproof membrane keypads resist moisture and contaminants, which is essential for reliable operation in outdoor and industrial settings.
- Advanced coatings enhance durability, making them ideal for demanding applications.
- Waterproof capacitive keypads, such as Infineon CAPSENSE™, are effective for projects requiring modern touch control in harsh environments.
Pros:
- Superior protection against water and dust
- Extended lifespan in challenging environments
- Suitable for modern touch interfaces
Cons:
- Higher cost
- May require special installation procedures
Best Use Cases:
- Outdoor kiosks
- Industrial machinery controls
- Agricultural equipment
Tip: Choose waterproof keypads for projects exposed to weather or heavy use. You can contact local suppliers for custom solutions that fit your specific requirements.
Membrane Keypad with Arduino UNO: Testing Results
Setup and Coding
You can set up a membrane keypad with Arduino UNO quickly, even if you have limited experience. Most flexible keypads use a simple matrix structure, which allows you to connect the keypad directly to the digital pins on your Arduino. You only need a few jumper wires and a breadboard to get started. The 4×4 and 3×4 keypads work seamlessly with the popular Keypad library, which simplifies the coding process.
Here is a basic example of how you might wire and program a 4×4 keypad:
#include <Keypad.h>

const byte ROWS = 4; // Four rows
const byte COLS = 4; // Four columns
char keys[ROWS][COLS] = {
  {'1','2','3','A'},
  {'4','5','6','B'},
  {'7','8','9','C'},
  {'*','0','#','D'}
};
byte rowPins[ROWS] = {9, 8, 7, 6}; // Connect to the row pinouts of the keypad
byte colPins[COLS] = {5, 4, 3, 2}; // Connect to the column pinouts of the keypad

Keypad keypad = Keypad( makeKeymap(keys), rowPins, colPins, ROWS, COLS );

void setup(){
  Serial.begin(9600);
}

void loop(){
  char key = keypad.getKey();
  if (key){
    Serial.println(key);
  }
}
You can adapt this code for a 3×4 keypad by changing the matrix size and pin assignments. Capacitive touch keypads, such as the TTP229, require additional libraries and may use I2C or SPI communication. These keypads reduce the number of wires but need more configuration in your code.
Tip: Always double-check your wiring before powering up your Arduino. This prevents accidental shorts and ensures reliable operation.
Reliability in Use
When you use a membrane keypad with Arduino UNO in real-world projects, you will notice differences in reliability based on the keypad’s quality and type. Cheaper keypads often have a shorter lifespan because manufacturers use low-quality components, especially in the flexible PCB ribbon connector. Over time, you may see keys that stop responding or require extra pressure to register.
Common issues include switch bounce, where a single button press causes multiple signals. This happens because the contacts inside the membrane switch make and break several times during a press. Your Arduino may misinterpret these signals as multiple key presses. You can solve this by implementing debouncing techniques in your code, either through software or by adding small capacitors.
- Switch bounce can cause unreliable input.
- Low-quality keypads may fail after repeated use.
- Debouncing improves accuracy and extends keypad life.
Note: Investing in a higher-quality keypad reduces maintenance and improves long-term reliability, especially for projects that require frequent input.
User Feedback
Many users choose membrane keypads for Arduino UNO projects because they offer an economical solution. You can mount these keypads almost anywhere due to their thin profile. Users appreciate the flexibility and low cost, especially for prototypes and educational projects.
- Membrane keypads are affordable for most applications.
- Their slim design allows easy installation in tight spaces.
- Users recommend flexible keypads for quick prototyping and learning.
Some users report that capacitive touch keypads provide a modern look but lack tactile feedback. You may want to add sound or LED indicators to improve the user experience. For outdoor or industrial projects, users in Colombia often prefer waterproof models to handle humidity and dust.
If you want the best results, select a keypad that matches your project’s environment and usage frequency. Reach out to local suppliers for advice on custom solutions or bulk orders.
Best Choices
For Beginners
If you are new to Arduino UNO projects, you want a keypad that is easy to use and quick to set up. The 4×4 membrane keypad stands out as the top choice for beginners. You benefit from a user-friendly design and a straightforward wiring process. This keypad works well with the popular Keypad library, so you can start coding right away. You do not need advanced skills to connect or program it. The 4×4 layout gives you enough keys for most basic and intermediate projects, making it a reliable and versatile input device. You can use it for password entry, menu navigation, or simple control panels without facing complex challenges.
Tip: Start with the 4×4 membrane keypad to build your confidence and complete your first Arduino projects successfully.
For Advanced Projects
When your project demands more features or you want to create a professional interface, you should consider advanced keypad options. The 4×4 flexible keypad remains a strong candidate because it supports alphanumeric input and complex control schemes. If you need a modern look or waterproofing, you can choose a capacitive touch keypad. This type uses fewer wires and offers a sleek surface, which is ideal for outdoor kiosks or industrial controls. For environments with heavy use or exposure to dust and moisture, a waterproof or rigid PCB keypad provides extra durability and stability.
- Use a 4×4 flexible keypad for multi-function panels.
- Select a capacitive touch keypad for stylish or weather-resistant designs.
- Choose a rigid or waterproof keypad for industrial or outdoor applications.
Consider your project’s environment and input needs before selecting a keypad. You can always reach out to local suppliers in Colombia for custom solutions.
Budget Option
You may want to save money without losing essential features. Several membrane keypads offer cost-effective solutions for Arduino UNO. The following table compares two popular options:
| Feature | 1×4 Key Matrix Membrane Switch | 4×4 Keypad Membrane Switch |
|---|---|---|
| Keys | 4 | 16 |
| Size | 68×20mm | Ultra-thin design |
| Use | Compact input for Arduino | Versatile input method |
The 1×4 key matrix membrane switch gives you a compact and affordable input for simple tasks. The 4×4 keypad membrane switch, while slightly higher in price, delivers more versatility and remains budget-friendly. You can find both options easily from local electronics suppliers.
For most projects, the 4×4 keypad offers the best value. You get more keys and flexibility without a significant increase in cost. If you need help choosing the right keypad for your application, contact a trusted supplier for advice.
You get the best results with a 4×4 flexible membrane keypad for Arduino UNO. This keypad offers strong compatibility, easy wiring, reliable durability, and clear tactile feedback. Choose the keypad that matches your project’s needs, whether you build a simple calculator or an industrial control panel.
Ready to start? Contact local suppliers in Colombia for expert advice and quality membrane keypads. Explore Arduino forums for tutorials and community support. 🚀
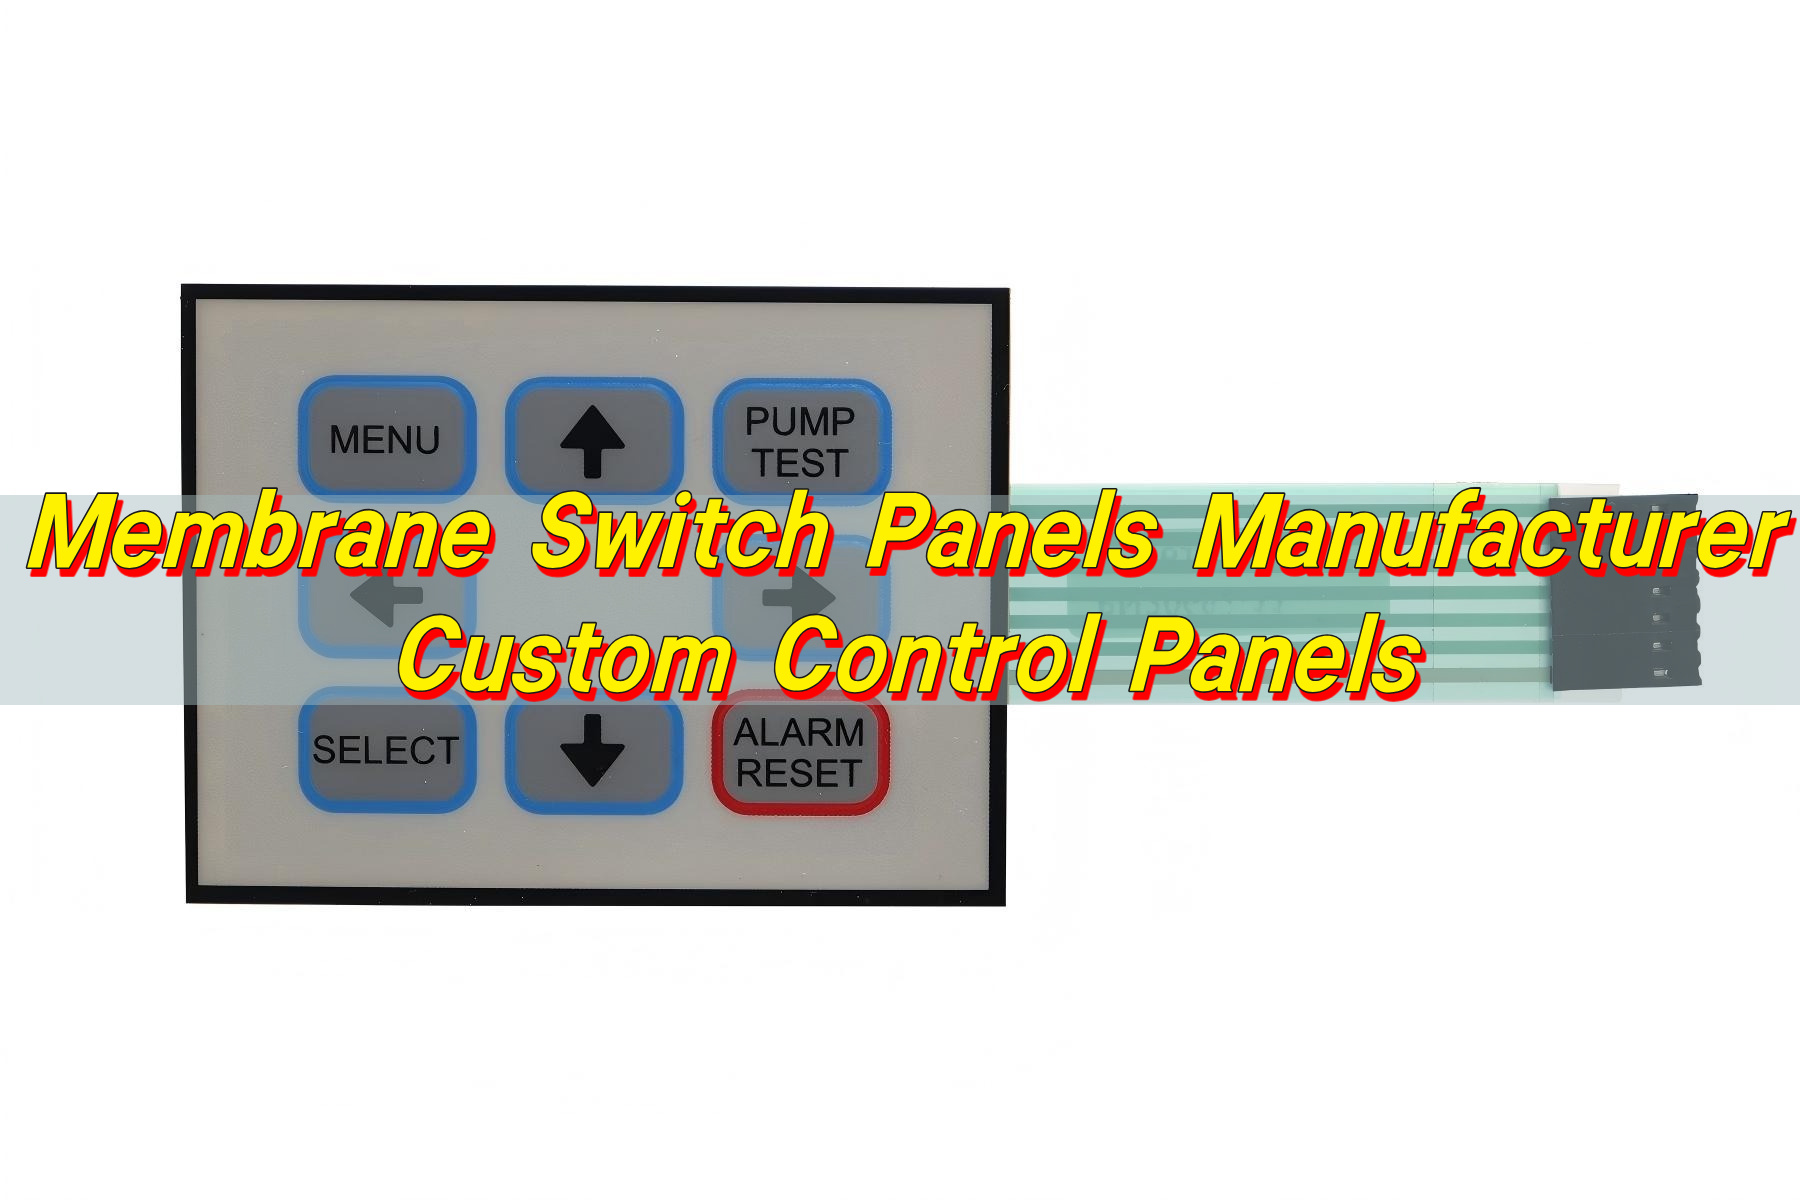
Membrane Switch Panels Manufacturer | Custom Control Panels
Membrane switch panels sit at the core of many modern control interfaces, from medical devices to industrial equipment. When businesses look for a reliable membrane switch panels manufacturer, they are not just buying a product—they are choosing a long-term partner that shapes usability, durability, and overall product performance. What is a membrane panel? A membrane ...

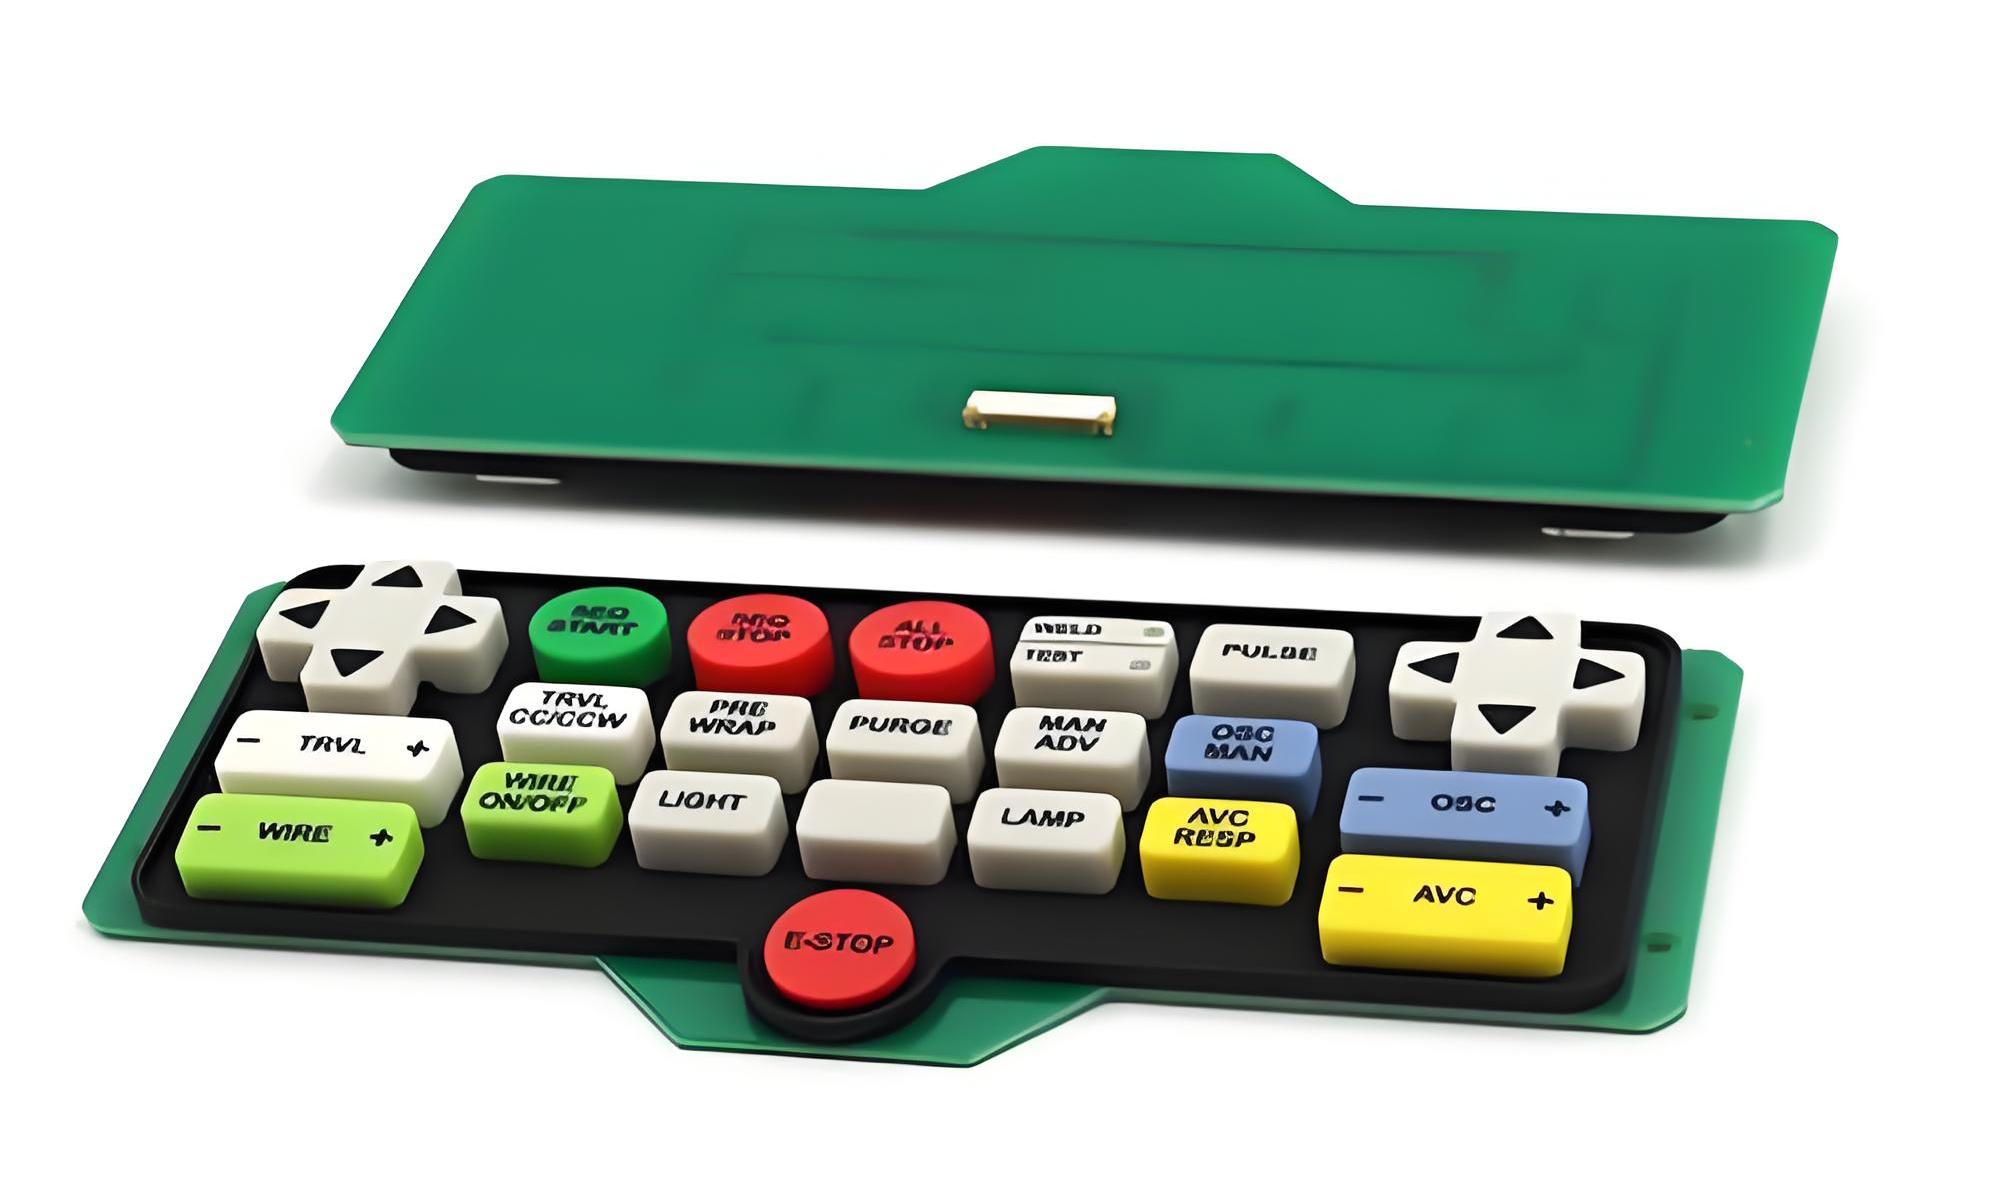
Ways in Which a Rubber Membrane Switch Contributes To the Quality of an Appliance
The control panels through which you operate an appliance or machines contribute to the overall device quality. The rubber membrane switch variety is a popular option for modern appliances. These switches upgrade the overall electronic appliance in several ways. Enjoy perfect and smooth controls The membrane keypad with LED enhances the appliance functionality by many ...
Buy Your Tactile Membrane Switch Prudently For Maximum Value
Appliance and electronic device manufacturers must procure vital spare parts and device components and assemble them for final production. A tactile membrane switch is a pertinent part of modern gadgets. As an electronic appliance or machine producer, you must procure these switches. Balance quality and cost Two aspects that you must balance while buying these ...
Contact us online