Top tips for fixing PS4 controller conductive film keypads
Top tips for fixing PS4 controller conductive film keypads
Are you frustrated because your PS4 controller buttons have stopped working? You are not alone. Many gamers experience issues with the conductive film keypad for ps4. Button failures often happen because of dirt, debris, or rough handling. Take a look at the most common causes:
| Cause | Description |
|---|---|
| Dirt and debris | Accumulation in button crevices can hinder function. |
| Faulty buttons | Manufacturing defects can lead to failures. |
| Rough handling | Can lead to button failure or joystick drift. |
You can restore your controller’s performance with a few simple tools. You do not need to spend a fortune or wait for professional repairs. Start your fix today and enjoy smooth gameplay again!
Key Takeaways
- Inspect your PS4 controller for dirt and damage before attempting repairs. Cleaning can often resolve button issues.
- Use copper tape or conductive paint for quick fixes on minor damage. These methods restore button response without needing advanced skills.
- Decide between repairing or replacing the conductive film based on the damage. Small cracks can be repaired, while large tears require replacement.
- Gather essential tools like a small screwdriver and isopropyl alcohol before starting repairs. Proper tools help prevent damage and ensure a smooth process.
- Test each button after reassembly to confirm successful repairs. If issues persist, consider professional help or replacing the entire keypad.
Fixing conductive film keypad for PS4
Quick repair methods
You want your PS4 controller working again without spending hours or breaking the bank. Quick repair methods can restore button response and save you money. Many users and repair experts recommend these practical solutions for fixing a conductive film keypad for ps4:
- Copper tape with conductive glue: This method gives you reliable results. Cut small strips and place them over damaged traces. The adhesive conducts electricity, restoring the connection instantly.
- Electric paint: Apply a thin layer with a toothpick or q-tip. The paint dries quickly and reconnects broken circuits. You can find electric paint online or at electronics stores.
- Graphite paint: This option dries fast and works well for minor repairs. Use a small brush to cover the damaged area.
- Conductive paint: Dab it on with a q-tip for precise application. Many users report strong results, especially for single-button issues.
- Conductive rubber repair kits: These kits include pads and adhesive. You can replace worn-out rubber contacts and improve button sensitivity.
Tip: Always clean the keypad and circuit board before applying any repair material. Dirt and oil can block conductivity and reduce the effectiveness of your fix.
If you want a fast solution, start with copper tape or conductive paint. These options work for most minor issues and do not require advanced skills. You can find all materials online or at local electronics shops.
When to replace vs. repair
You may wonder if you should repair or replace the conductive film keypad for ps4. The answer depends on the extent of the damage and your repair goals.
| Situation | Best Action | Why? |
|---|---|---|
| Small cracks or breaks | Repair | Quick fixes restore function easily. |
| Multiple broken traces | Replace | Repairs may not last or cover all issues. |
| Sticky or unresponsive buttons | Repair | Cleaning and minor fixes often work. |
| Large tears or missing sections | Replace | Replacement ensures long-term reliability. |
If you see only minor damage, you can repair the keypad and get back to gaming quickly. For severe damage, such as large tears or multiple broken traces, replacement is the smarter choice. New conductive film keypads are affordable and easy to install. You will enjoy better performance and longer-lasting results.
Note: If you have tried several repair methods and your controller still does not work, consider replacing the entire conductive film keypad for ps4. This step saves you time and frustration.
You have the power to fix your controller at home. Choose the method that fits your situation and skill level. Quick repairs work for most issues, but replacement guarantees the best results for serious damage.
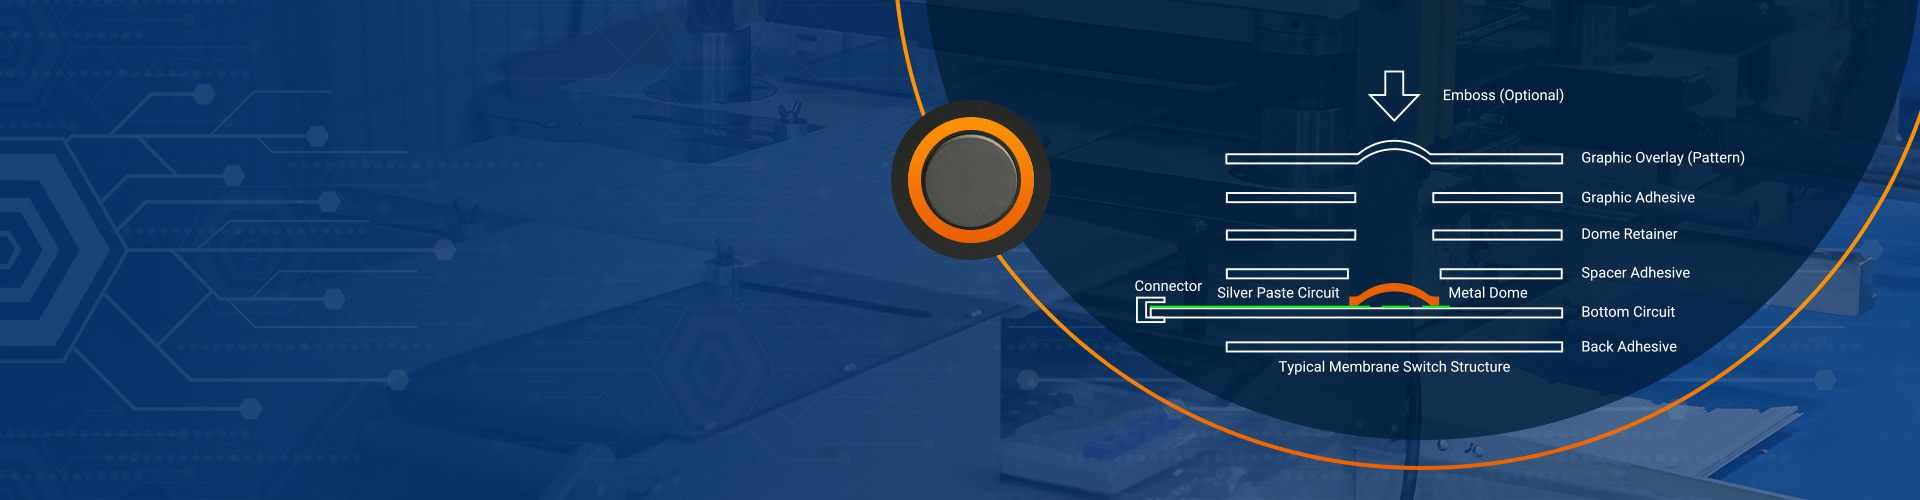
What is a conductive film keypad?
How it works in PS4 controllers
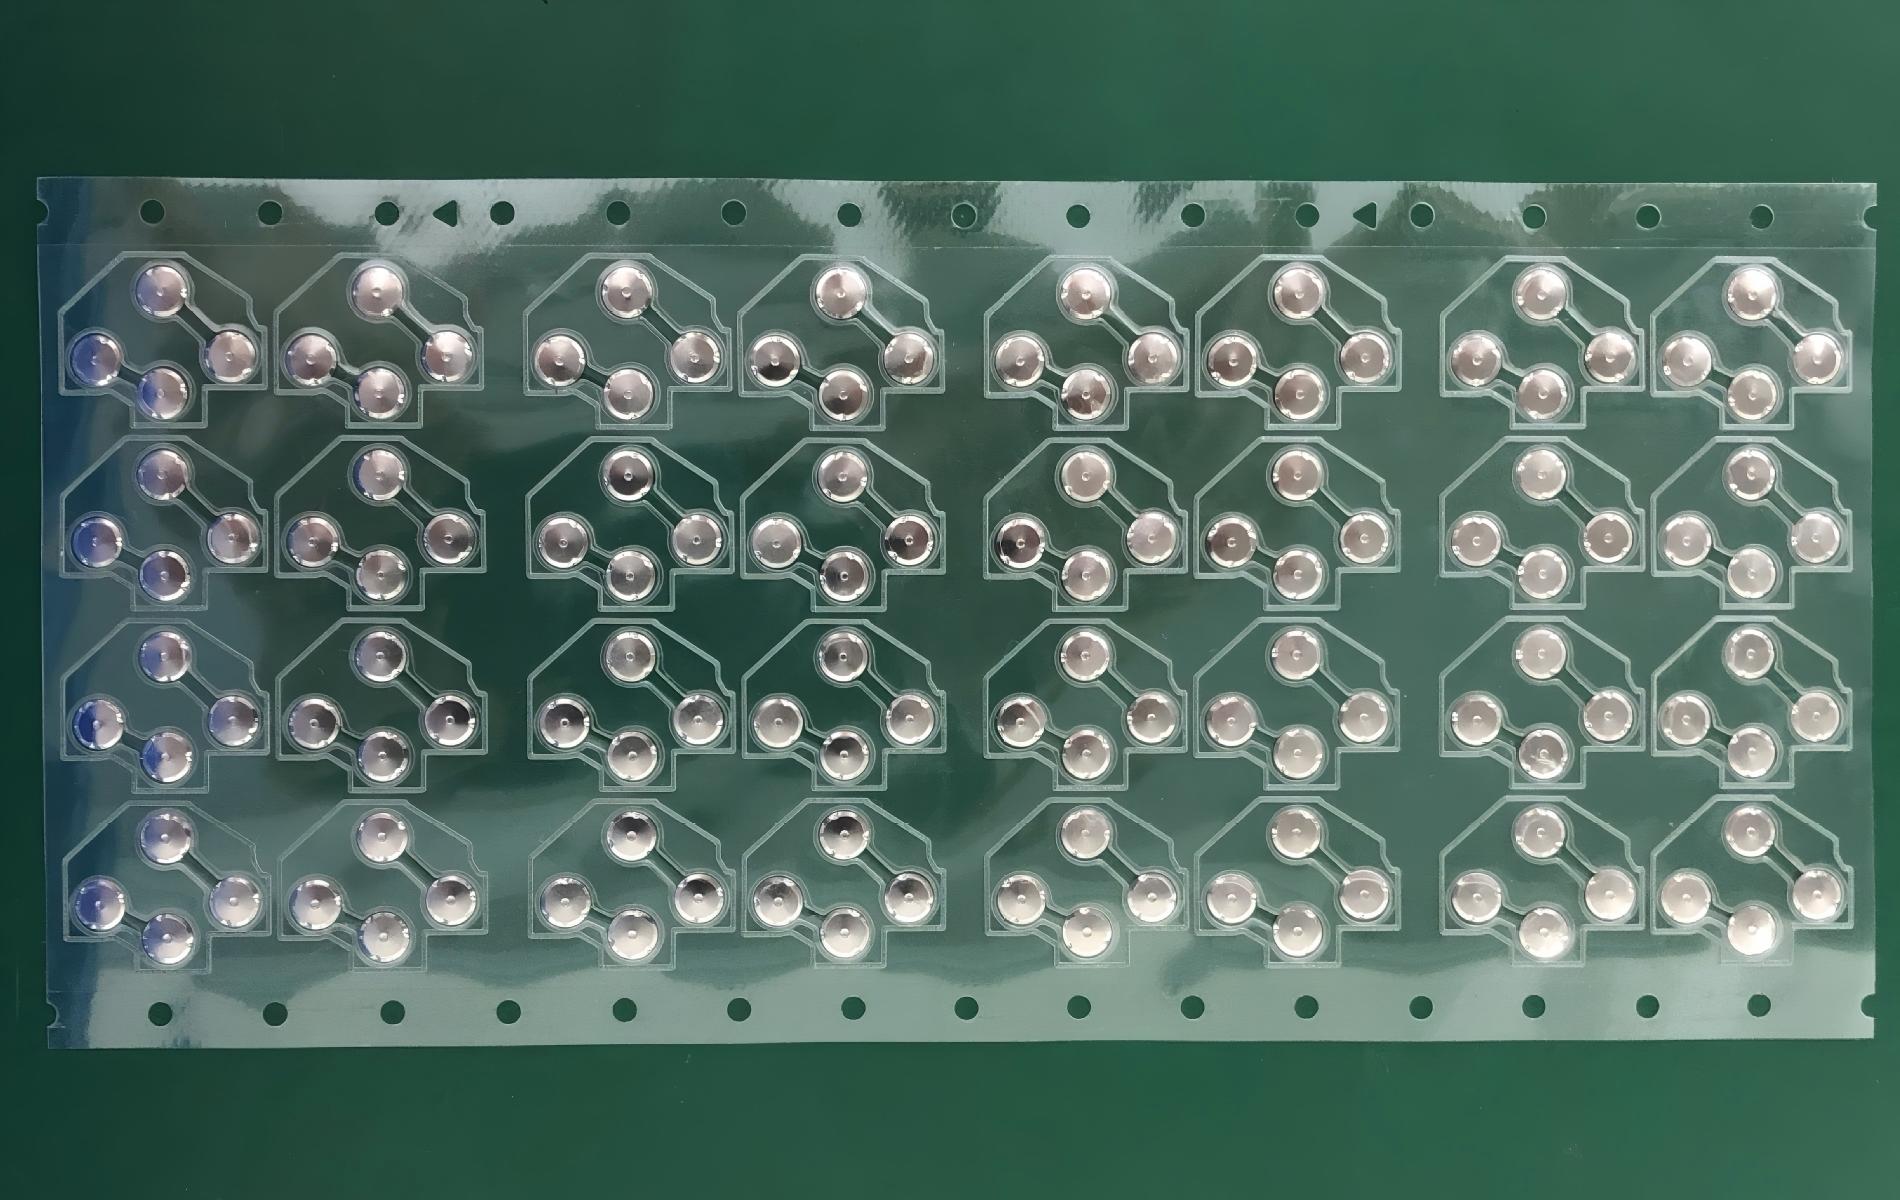
You rely on your PS4 controller for every gaming session. Inside, the conductive film keypad acts as the bridge between your button presses and the controller’s electronics. This thin, flexible sheet contains printed circuits that respond to each button press. When you press a button, the film completes an electrical circuit. The controller then sends a signal to your console, making your character jump, run, or shoot.
The design of the conductive film keypad for ps4 allows for fast and accurate button response. Manufacturers use special materials that conduct electricity efficiently. The film sits beneath the plastic buttons and above the main circuit board. Each button has a dedicated contact point on the film. You get instant feedback every time you play.
If you want your controller to perform at its best, you need to keep the conductive film clean and intact. Dirt or damage can break the connection and ruin your gaming experience.
Common problems and symptoms
You may notice your controller acting up during intense gameplay. The most frequently reported symptoms of a failing conductive film keypad include:
- Unresponsive buttons
- Delayed button response
- Buttons that work only when pressed very hard
- Random button activation
- Buttons sticking or feeling mushy
These issues often start small. You might ignore a single unresponsive button, but the problem can spread. Dirt, moisture, and wear can damage the film’s circuits. If you see multiple buttons failing, you should inspect the film right away.
| Symptom | Possible Cause |
|---|---|
| Unresponsive buttons | Broken or dirty traces |
| Delayed response | Worn contact points |
| Sticky buttons | Debris under the film |
You can fix most problems at home. Quick repairs or a full replacement will restore your controller’s performance. Take action now to keep your gaming smooth and frustration-free.
Tools and materials needed
Essential tools for safe repair
You need the right tools to fix your PS4 controller and avoid damaging delicate parts. Repair guides recommend a few essentials that make the process smoother and safer. Gather these items before you start:
- Small screwdriver: Remove screws without stripping them.
- Tweezers: Handle tiny components and wires with precision.
- Conductive adhesive or conductive tape: Restore broken connections quickly.
- Isopropyl alcohol: Clean contacts and remove grime.
- Patience and a steady hand: Work slowly to prevent mistakes.
Tip: Organize your workspace and keep screws in a small container. You will avoid losing parts and finish the repair faster.
Using these tools gives you control over each step. You protect your controller from accidental damage and increase your chances of a successful fix.
Recommended materials (silver glue, conductive tape, replacement film)
You want your repair to last. Choose high-quality materials for the best results. The right supplies help you restore the conductive film keypad for ps4 and keep your controller working like new.
| Material | Purpose | Where to Find |
|---|---|---|
| Silver glue | Repairs broken traces | Electronics stores |
| Conductive tape | Bridges gaps in circuits | Online retailers |
| Replacement film keypad | Full swap for severe damage | Gaming repair shops |
| Electric paint | Quick fixes for small breaks | Hardware stores |
| Isopropyl alcohol | Cleans contacts and surfaces | Pharmacies, supermarkets |
You can buy these materials online or at local shops. Silver glue and conductive tape work well for minor repairs. If you see major damage, a replacement film keypad gives you a fresh start.
Note: Always check product reviews before buying repair materials. Quality supplies make your repair easier and more reliable.
With the right tools and materials, you can fix your controller at home and get back to gaming. Take action now and enjoy responsive buttons again.
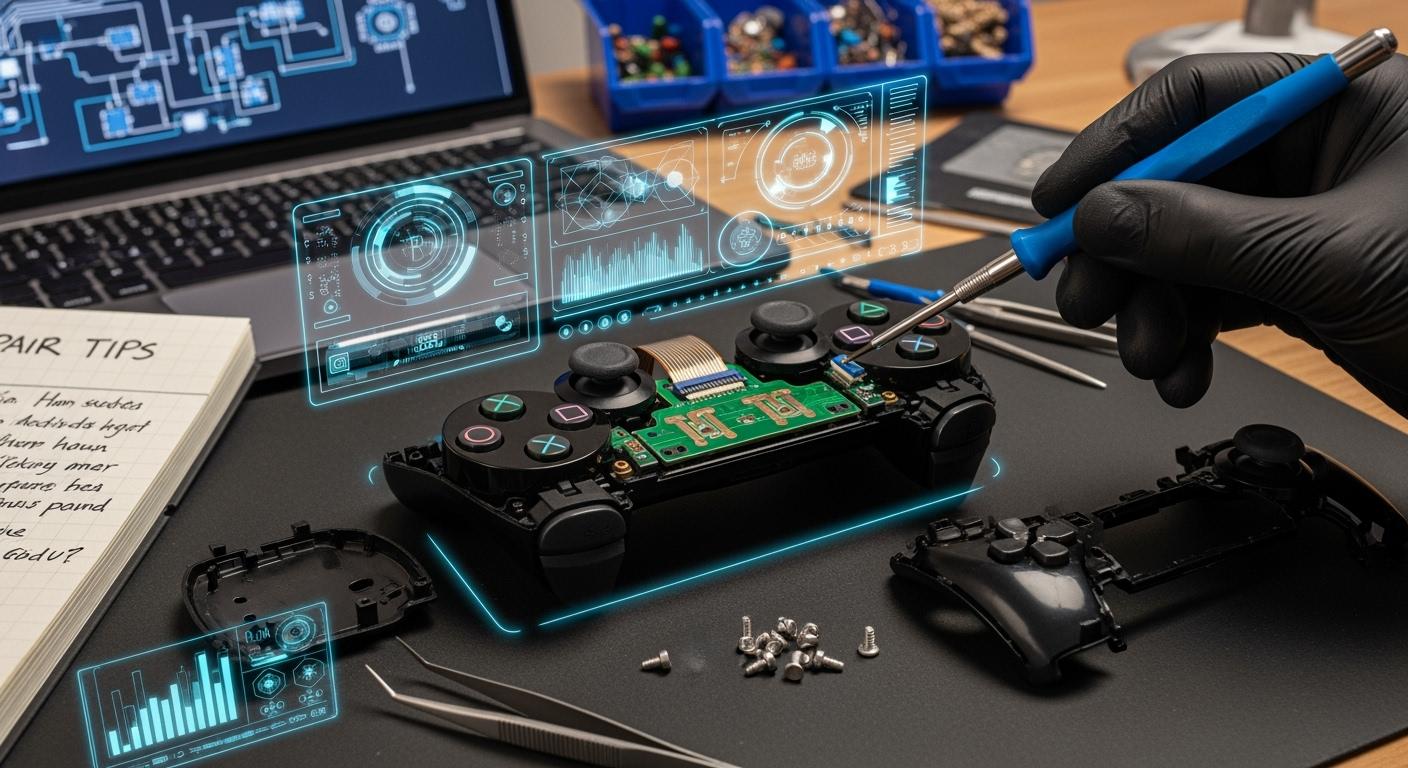
Opening your PS4 controller safely
Step-by-step disassembly
You want to fix your PS4 controller, but you need to open it first. Follow these steps to avoid damage and keep every part safe:
- Gather your tools. Use a precision screwdriver set, preferably a #00 Phillips. Plastic pry tools or spudgers help you open the casing without scratching it.
- Remove the screws from the back of the controller. Place each screw in a small container or magnetic mat. This keeps them from getting lost.
- Gently pry apart the controller shell. Start at the seams and work slowly. Avoid forcing the case open, or you might crack the plastic clips.
- Disconnect the battery. Use tweezers for small connectors. This step protects the circuit from accidental shorts.
- Carefully lift the touchpad ribbon and battery connections. Handle these parts gently to prevent tears or damage.
- Document each step. Take photos or notes so you remember how to reassemble the controller.
Tip: Always use the right screwdriver size. Using the wrong tool can strip screw heads and make removal difficult.
Common mistakes include damaging screws, breaking fragile clips, and losing small parts. You can avoid these problems by working slowly and keeping everything organized.
Safety precautions
You need to protect your controller and yourself during repair. Follow these safety tips for a smooth experience:
- Work in a well-lit area. Use a small flashlight if needed to see tiny parts.
- Keep isopropyl alcohol and cotton swabs nearby for cleaning.
- Use tweezers for handling small components.
- Never force open the casing. Gentle pressure prevents cracks.
- Disconnect the battery before touching any internal parts.
- Handle ribbon cables with care. Rough handling can cause tears.
- Organize screws and parts in a tray or container.
- Avoid using metal tools on delicate plastic areas.
Note: If you skip steps or rush, you risk damaging your controller. Take your time and follow each instruction closely.
You can open your PS4 controller safely and prepare for a successful repair. Careful handling and the right tools make all the difference.
Inspecting and cleaning the keypad
Identifying damage with magnification
You want your PS4 controller to respond instantly. To achieve this, you must inspect the conductive film keypad for ps4 closely. Use a magnifying glass or a small microscope. These tools help you spot tiny cracks, worn traces, or corrosion that you might miss with the naked eye. Look for faded lines, dark spots, or areas where the circuit seems broken. If you see any gaps or discoloration, you have found the source of your button problems.
Tip: Take your time during inspection. A careful look now saves you from repeating repairs later.
Check both sides of the keypad. Examine the PCB (printed circuit board) as well. Sometimes, dust or residue hides damage. If you notice any sticky residue or dirt, you must clean it before moving forward.
Cleaning techniques (soapy water, isopropyl alcohol)
Cleaning restores the connection and improves button response. You need to clean both the keypad and the PCB. Follow these steps for best results:
- Remove loose dust with a soft brush.
- Mix a small amount of mild soap with warm water. Dip a cotton swab in the solution and gently wipe the keypad surface.
- Dry the keypad with a lint-free cloth. Avoid leaving any moisture.
- Use isopropyl alcohol (at least 90%) on another cotton swab. Clean the contact points on the PCB and the keypad. Alcohol evaporates quickly and leaves no residue.
- Let all parts air dry for a few minutes before reassembly.
| Cleaning Material | Use Case | Benefit |
|---|---|---|
| Mild soapy water | Keypad surface | Removes grime |
| Isopropyl alcohol | PCB and contacts | Disinfects, dries fast |
Note: Never soak the keypad or PCB. Excess water can cause permanent damage.
You can restore your controller’s performance with these simple cleaning steps. Clean contacts ensure your repairs last longer and your gameplay stays smooth.
Repairing or replacing the conductive film
Using silver glue or conductive tape
You want your controller to work like new. Silver glue and conductive tape offer fast, reliable solutions for broken traces. You can fix most minor issues without replacing the entire film. Here’s how you do it:
- Identify the damaged trace using a magnifying glass.
- Clean the area with isopropyl alcohol and let it dry.
- For silver glue, shake the bottle and use a toothpick to apply a thin line over the break. Wait for it to dry completely.
- For conductive tape, cut a small strip and place it directly over the damaged trace. Press it down firmly.
Tip: Always test the connection with a multimeter before reassembling your controller. This step saves you time and frustration.
Silver glue works best for tiny cracks. Conductive tape covers larger gaps and gives instant results. Both methods restore button response and extend the life of your controller.
Installing a new conductive film keypad for PS4
Sometimes, repairs are not enough. If you see multiple broken traces or large tears, you need to install a new conductive film keypad for ps4. This process sounds hard, but you can do it at home.
- Buy a replacement film that matches your controller model.
- Remove the old film gently. Avoid tearing any connectors.
- Align the new film with the button contacts and secure it in place.
- Reconnect all cables and check for a snug fit.
Note: Double-check every connection before closing the controller. A loose cable can cause new problems.
A new film gives you the best performance and reliability. You get crisp, fast button response and a controller that feels brand new. Take action now and enjoy flawless gameplay again!
Reassembly and testing
Putting the controller back together
You have repaired or replaced the conductive film keypad. Now, you need to reassemble your PS4 controller with care. Start by reconnecting the battery and ribbon cables. Make sure each connector fits snugly. Align the controller shells and press them together gently. Insert the screws into their original positions. Tighten each screw just enough to hold the shell securely. Avoid overtightening, which can crack the plastic.
Use tweezers to guide small parts into place. Double-check that all buttons sit correctly on their contacts. If you took photos during disassembly, refer to them now. You want every part to match its original position. Organize your workspace and keep track of any leftover pieces. A well-assembled controller feels solid and responds quickly.
Tip: If the shell does not close smoothly, check for misaligned cables or buttons. Fix these issues before tightening the screws.
Testing button functionality
You need to confirm that your repair worked. Testing each button ensures your controller is ready for gaming. Follow these steps to check button response on your computer:
- Connect your PS4 controller to your computer using a USB to Micro-USB cable.
- Right-click the Start logo in the bottom left corner of your screen.
- Type ‘Control Panel’ in the search window and select it.
- Choose ‘View Devices and Printers’ under ‘Hardware and Sound.’
- Find ‘Wireless Controller’ and right-click on it.
- Select ‘Game controller Settings’ from the drop-down menu.
- Click ‘Properties’ in the lower right corner of the window.
- Press each button on your controller. Watch the computer screen for a reaction.
If every button responds instantly, your repair succeeded. If you notice any lag or unresponsive buttons, reopen the controller and check your work. You want flawless performance for every gaming session.
🎮 Celebrate your success! A fully functional controller means you can jump back into your favorite games with confidence.
Troubleshooting and mistakes to avoid
Common errors during repair
You want your PS4 controller to work perfectly after a repair. Many users make the same mistakes, which can lead to more problems. Avoid these common errors to save time and frustration:
- Not checking the conductive film for damage. Always inspect the film closely before starting any repair. Many DualShock controllers have a flawed ribbon film strip that affects button function. If you skip this step, you might miss the real issue.
- Neglecting to clean corrosion from the connector. Liquid damage or wear can cause corrosion. If you do not remove it, your repair will not last.
- Failing to apply proper pressure during reassembly. If you do not press the parts together firmly, the buttons may not respond well.
Tip: Take your time with each step. Rushing increases the chance of mistakes.
| Mistake | How to Avoid |
|---|---|
| Skipping inspection | Use a magnifying glass to check film |
| Ignoring corrosion | Clean connectors with alcohol |
| Loose reassembly | Press parts together firmly |
What to do if the controller still doesn’t work
You finished your repair, but the controller still does not respond. Do not give up. Follow these troubleshooting steps to find the problem:
- Check for continuity in the traces on the conductive film. Use a multimeter to test if the circuits connect properly. Degraded contacts often cause issues.
- If you find no connection, the film may have a manufacturing fault. Many users report this as a widespread problem.
- Replace the conductive film or the entire D-pad kit if problems continue. Sometimes, a new part is the only way to restore full function.
🛠️ Stay patient and persistent. Careful troubleshooting leads to a working controller and better gaming sessions.
You can fix most issues at home. Avoid common mistakes, follow these steps, and you will enjoy smooth gameplay again.
You can fix your PS4 controller by cleaning, repairing with silver glue or conductive tape, or replacing the film keypad. Always follow safety tips and work slowly for the best results. If your DIY repair does not solve the issue, trusted professionals can help:
- VideoGame911: Offers fast PS4 repairs and a 90-day warranty.
- TrilexFix: Provides transparent pricing and expert controller service.
Need more help? Send us your questions by email or fill out our contact form. Take control of your gaming experience today!
FAQ
Why do PS4 controller buttons stop working?
You often see buttons fail because of dirt, wear, or damaged conductive film. Quick cleaning or repair restores function. If you need more help, reach out using our contact form.
Can you fix a conductive film keypad without special tools?
You can repair minor issues with household items like cotton swabs and isopropyl alcohol. For best results, use silver glue or conductive tape. Need advice? Email us for step-by-step support.
How do you know if you should replace the film instead of repairing it?
You should replace the film if you see large tears, multiple broken traces, or repeated failures after repair. Replacement guarantees long-lasting results. Contact us for guidance on choosing the right part.
Will repairing the keypad affect gameplay performance?
You restore full button response and enjoy smoother gameplay when you repair or replace the keypad correctly. Test every button after repair to confirm success. If problems persist, ask our experts for help.
Where can you buy replacement conductive film keypads?
You find replacement keypads at gaming repair shops, online retailers, or electronics stores. Always check reviews before buying. For trusted sources, request our recommended supplier list by email.

How Long Does Keyboard Last? Average Lifespan Guide
Understanding how long does keyboard last is not just about numbers—it’s about how design, usage habits, and environmental conditions come together over time. Whether you’re working with a membrane keyboard, a mechanical unit, or a custom membrane keyboard built for industrial use, lifespan varies widely based on real-world factors. How long do keyboards last? Most ...
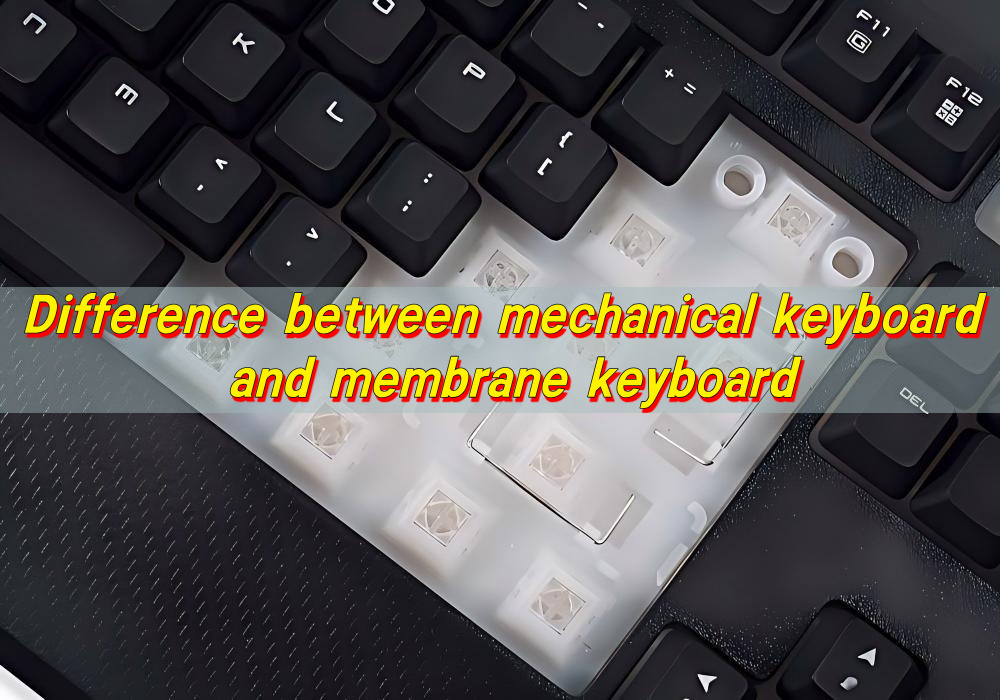
Difference between Mechanical Keyboard and Membrane Keyboard
Choosing between different keyboard technologies is no longer a simple matter of preference. As user expectations continue to evolve—especially in gaming, office productivity, and industrial control systems—the underlying structure of a keyboard plays a decisive role in performance, longevity, and overall user satisfaction. Understanding the difference between mechanical keyboard and membrane keyboard allows buyers and ...
Top Advantages of Using an LGF Membrane Switch in Modern Electronics
Electronics have advanced rapidly over the years. The buttons and controls people use every day have also quietly advanced. Today, thin panel-based controls are replacing old, bulky buttons in almost every industry, and for good reason. Even Lighting Across Every Key Older backlit panels always had that annoying problem of bright spots near the light ...
Contact us online